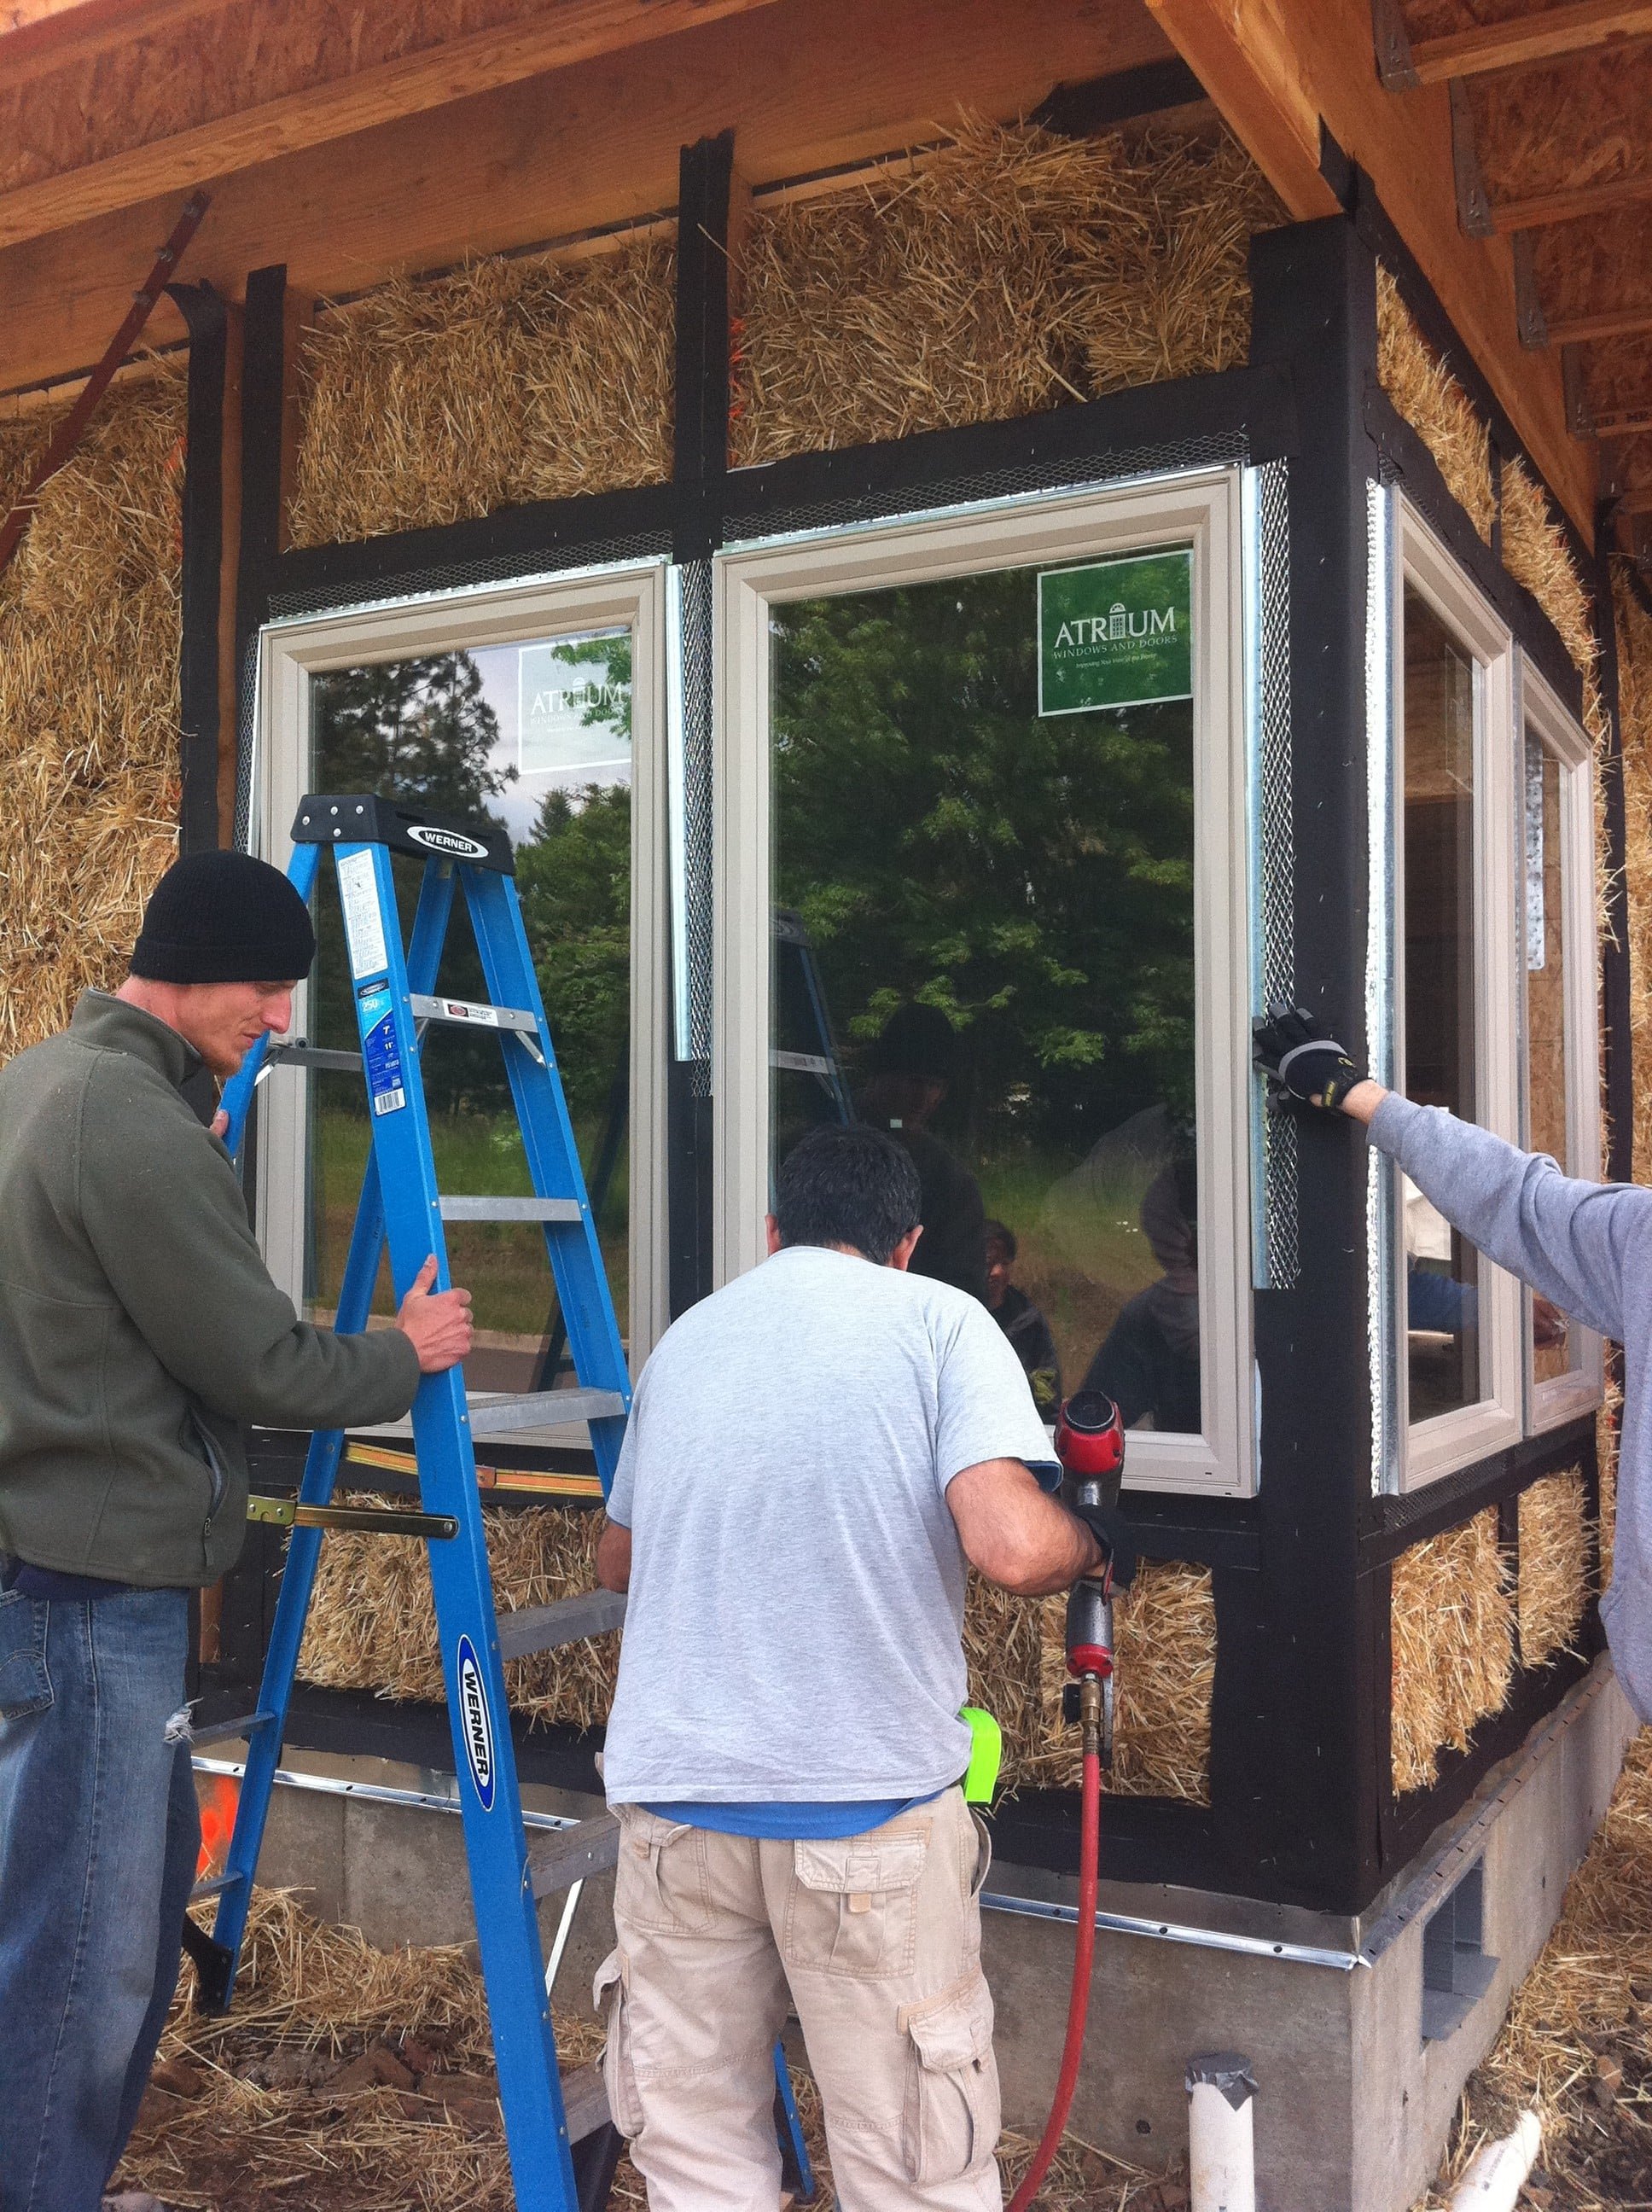
Simplify the Installation of Roofing Felt Behind Your Plaster
I wanted to share a few great tips on how to simplify the installation of the roofing felt needed on wood that lies behind your plaster. As you know (or may be learning...right now...) you have to cover all wood that will end up behind plaster with roofing felt or an equivalent product.
The main reason for this is that you don't want the plaster to stick to the wood, so including the roofing felt as a "slip-plane" is crucial. The wood will expand and contract over time at a rate higher than what the plaster can handle and you will develop cracks along every wood to straw transition if the plaster adheres to the wood.
A second reason for the roofing felt is to provide protection from vapor intrusion along the wood. Because the plaster will absorb moisture from the climate and then release it in time, you want to isolate the plaster from the wood so that the wood does not, in turn, absorb moisture from the plaster and drive it deeper into the wall than the plaster can retrieve it from.
Roofing Felt
Now that you know why you need roofing felt, I want to give you some tips on how to install it quickly and effectively. The first is to cut the rolls to the widths you need. Rather than cutting strips from the roll at every post or beam location, carry the roll to the chop saw, sawzall, or other appropriate cutting tool and cut an entire section of the roll to the width you need.
Now you can roll out the material and staple in place with ease. because there are some "known" sizes, you can cut several sections at a time so that multiple people can be in motion at once. For example, all the 4x4's or all of the header beams, or all of the corners. Find the consistent measurements and make your cuts ahead of time.
Use a jig to support the rolls, especially on horizontal installations. If you have scaffolding set up around your house, this is less of an issue because you can basically walk everywhere you need to install the material. If you don't and are working from ladders, it can be precarious to handle a roll of roofing felt, even one cut to size, with any precision.
Instead, use a simple jig like the one shown in the picture to support the roll while you unravel it. You can have a handle long enough to do the work from the ground in many cases so that you only need one person on a ladder: the person with the stapler.
Use a hammer tacker instead of a squeeze stapler. These tools are simple and work much faster than a squeeze stapler. What's more, you won't tire your hand out squeezing staples. You simple whack the tool against the wall and it deposits a staple for you.
Minimize your staples too. You don't need one every inch. Just install enough to hold the felt in place long enough to install your mesh and lath materials. Those will effectively do a much better job of holding the felt in place anyway.
-Andrew Morrison


