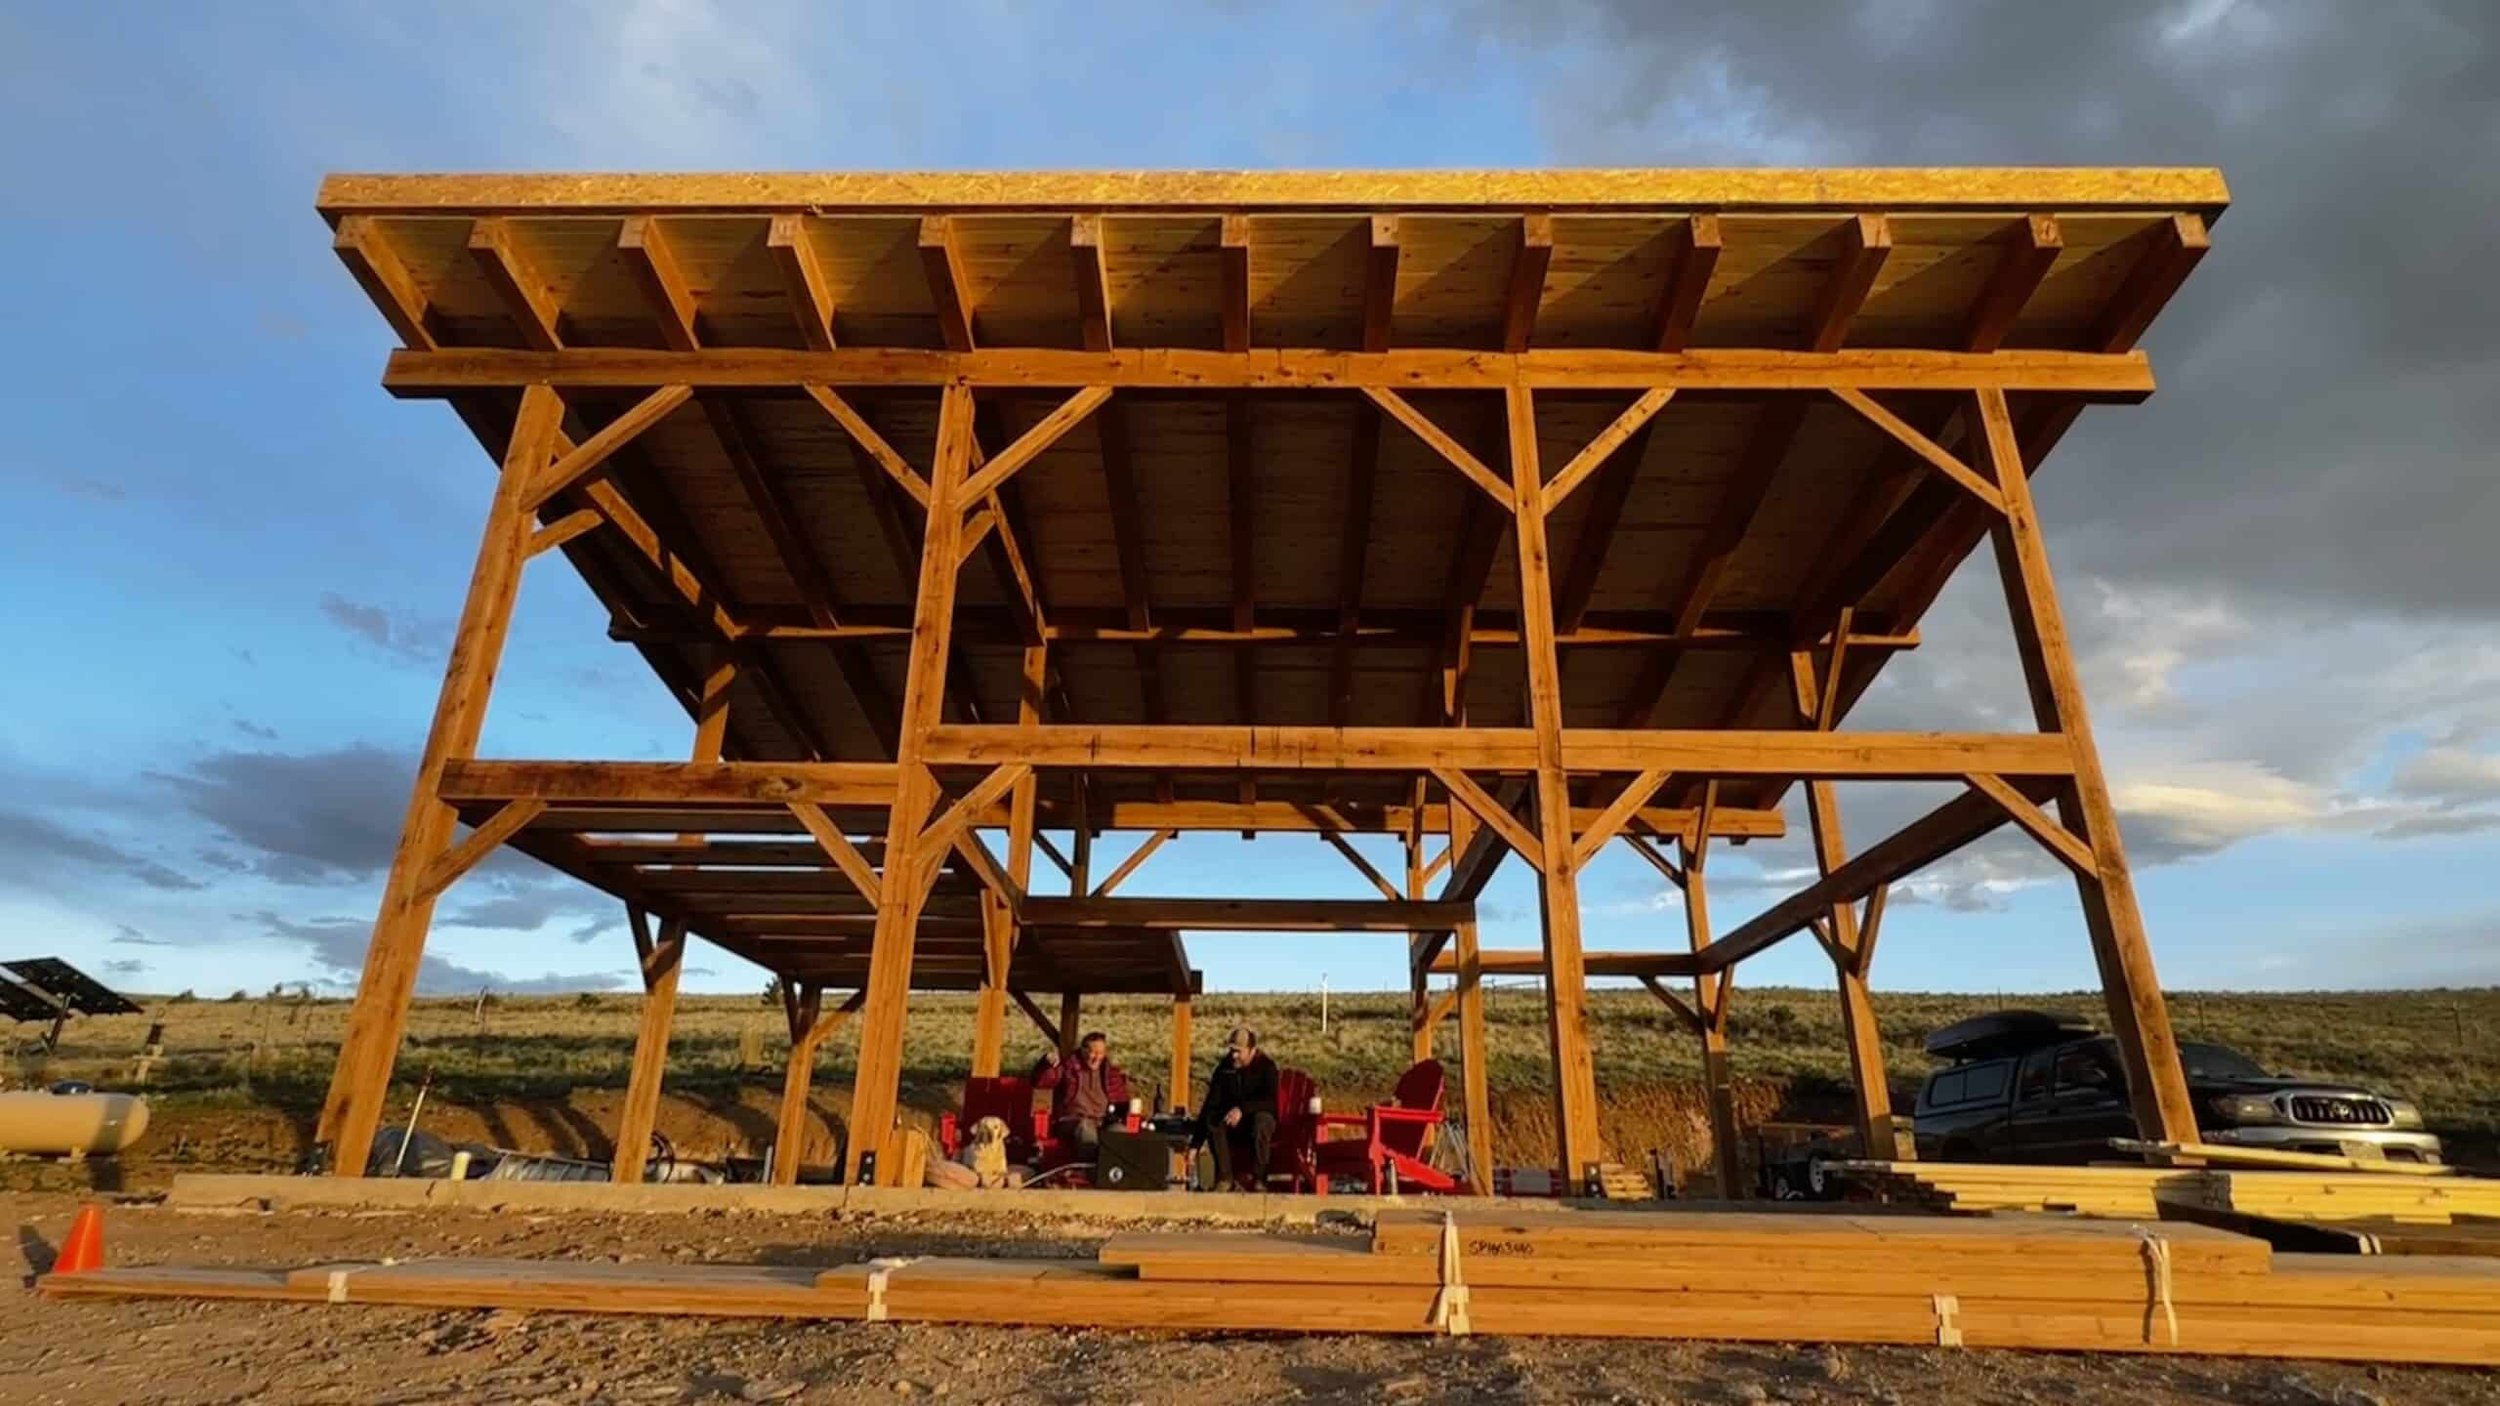
Timber Frame and Straw Bale Homes
There may be no more beautiful look than a timber frame house wrapped with straw bales and plaster. It's as if the two were made for each other. Although the look is fantastic, the actuality of creating that look can be a bit troublesome if you don't approach the project from the right angles. There are most definitely some differences in techniques when it comes to creating a straw bale wrap on a timber frame house. Get it wrong and the look will still be there, you will just end up more tired and frustrated than you need to be!
I can tell you that the techniques you need to include are simple and that with proper execution, you can have the look you want. What I can't tell you, via a blog post or email, is exactly how to implement the techniques. That's because seeing it and doing it in person is much easier than describing it in words. That said, here it goes...
The biggest secret to timber frame and bale unions is to be sure to create a tight joint between the two different materials: wood and straw/plaster. If you don't do that, you will get cracks at every joint and those cracks will become areas of moisture infiltration into the bales, increasing the chance of moisture damage. The best way to do that is to install plaster lath, also known as blood lath or diamond lath, to the back side of the posts and beams before you install the bales.
Hang it over the edges of the wood by about 3-4". This will allow you to tie your mesh into the lath and then have a tight, structurally supported plaster/wood joint later on. You can see the lath extending beyond the edge of the post in the picture to the right (not the 2"x2" mesh, but the tighter lath).
Secondly, you'll need to attach the bales to the frame in some way so they don't simply peel away from the structure over time. The easiest way to accomplish this is to use a fold of plaster lath on top of each course of bales and at every post intersection. Simply fold a roughly 9" wide x 18" long section of lath in half so that you end up with a 12" fold and a 6" fold, 9" wide.
The 12" section lays on top of the bale course and the 6" section is stapled to the post on the back side. With the bales in place, the 12" section is then stapled, using 9" landscape pins to the top of the bales. This creates a positive connection between the posts and the bales. You can see an example of what I mean in the photo to the left. This is a corner on a building with bales on edge, so the lath is not as long as 12" as mentioned above. Same concept though.
Like I said, this is not easy to describe in words, so I hope I've done it justice. There is more to it than this. This is just the tip of the iceberg as they say and the basics that you'll need to know about in order to create success with this style of design. Again, the best way to learn the ins and outs is to get some hands on experience with a structure that uses this technique.
-Andrew Morrison


