Plumbing Details & Straw Bale Homes
Keep as much of the plumbing out of the bale walls as possible. That’s it, end of the lesson. Okay, there’s more to it than that, but that is perhaps the most powerful tip we can offer. If you can keep all of your plumbing inside the interior, stick-framed walls, you will eliminate most of the hassles associated with plumbing in straw bale structures.
If appropriately designed, a straw bale house will differ very little from a conventional house as far as the plumbers are concerned. Three areas can be challenging to address in straw bale structures because the plumbing in those areas cannot be kept out of the bale walls. It can, however, be isolated from the bale walls.
Kitchens
A typical problem area is the kitchen sink because most homeowners want a kitchen sink with a view that, by design, tends to place the sink against an exterior wall. A simple solution is to bring the water lines up through the floor and cabinets; however, the vent line still needs to exit through the roof. In some scenarios, the plumber can “wet vent” the lines to allow them to exit the building through a framed wall; however, we find that the best way to deal with this situation is to frame in a wall between the bales and the cabinets with standard materials so that the water and vent lines can all be run in the same location.
This isolates the plumbing from the bales and eliminates the risk of water damage. Once the cabinets are in place and the walls are plastered, the area will be completely hidden, and nobody will know the difference.

*In this example, the framed wall will be temporarily moved to apply at least a scratch coat of plaster on the straw behind the framing. The framed wall will be replaced after the plaster is applied.
Bathrooms

Another plumbing detail commonly used in conventional homes is placing the tub or shower against an exterior wall. The extent of the risk is proportional to the permeability of the shower's finish materials. In other words, if a drop-in fiberglass unit is used to create the shower walls, the bales can be adequately protected with minimal extra effort.
On the other hand, if some porous tile or natural stone is used, the substrate must be protected with extra care as water will find its way through the finish. Many options include tile (well-backed), solid surface material used on countertops, metal roofing, natural stone, glass, drop-in fiberglass units, and others.
If it is impossible to protect the bales from contact with water, consider framing the area out and creating a section of faux bale wall. By matching the depth of the bales with framing and insulation that can be wrapped in waterproof materials that drain to the exterior, the bales are isolated from the potential risk.
The diagram to the left shows how this is useful in the case of a tub unit. Note that the isolation walls completely separate the bales from the tub, and the framed wall is insulated and protected from water intrusion with conventional detailing.
Laundry Areas

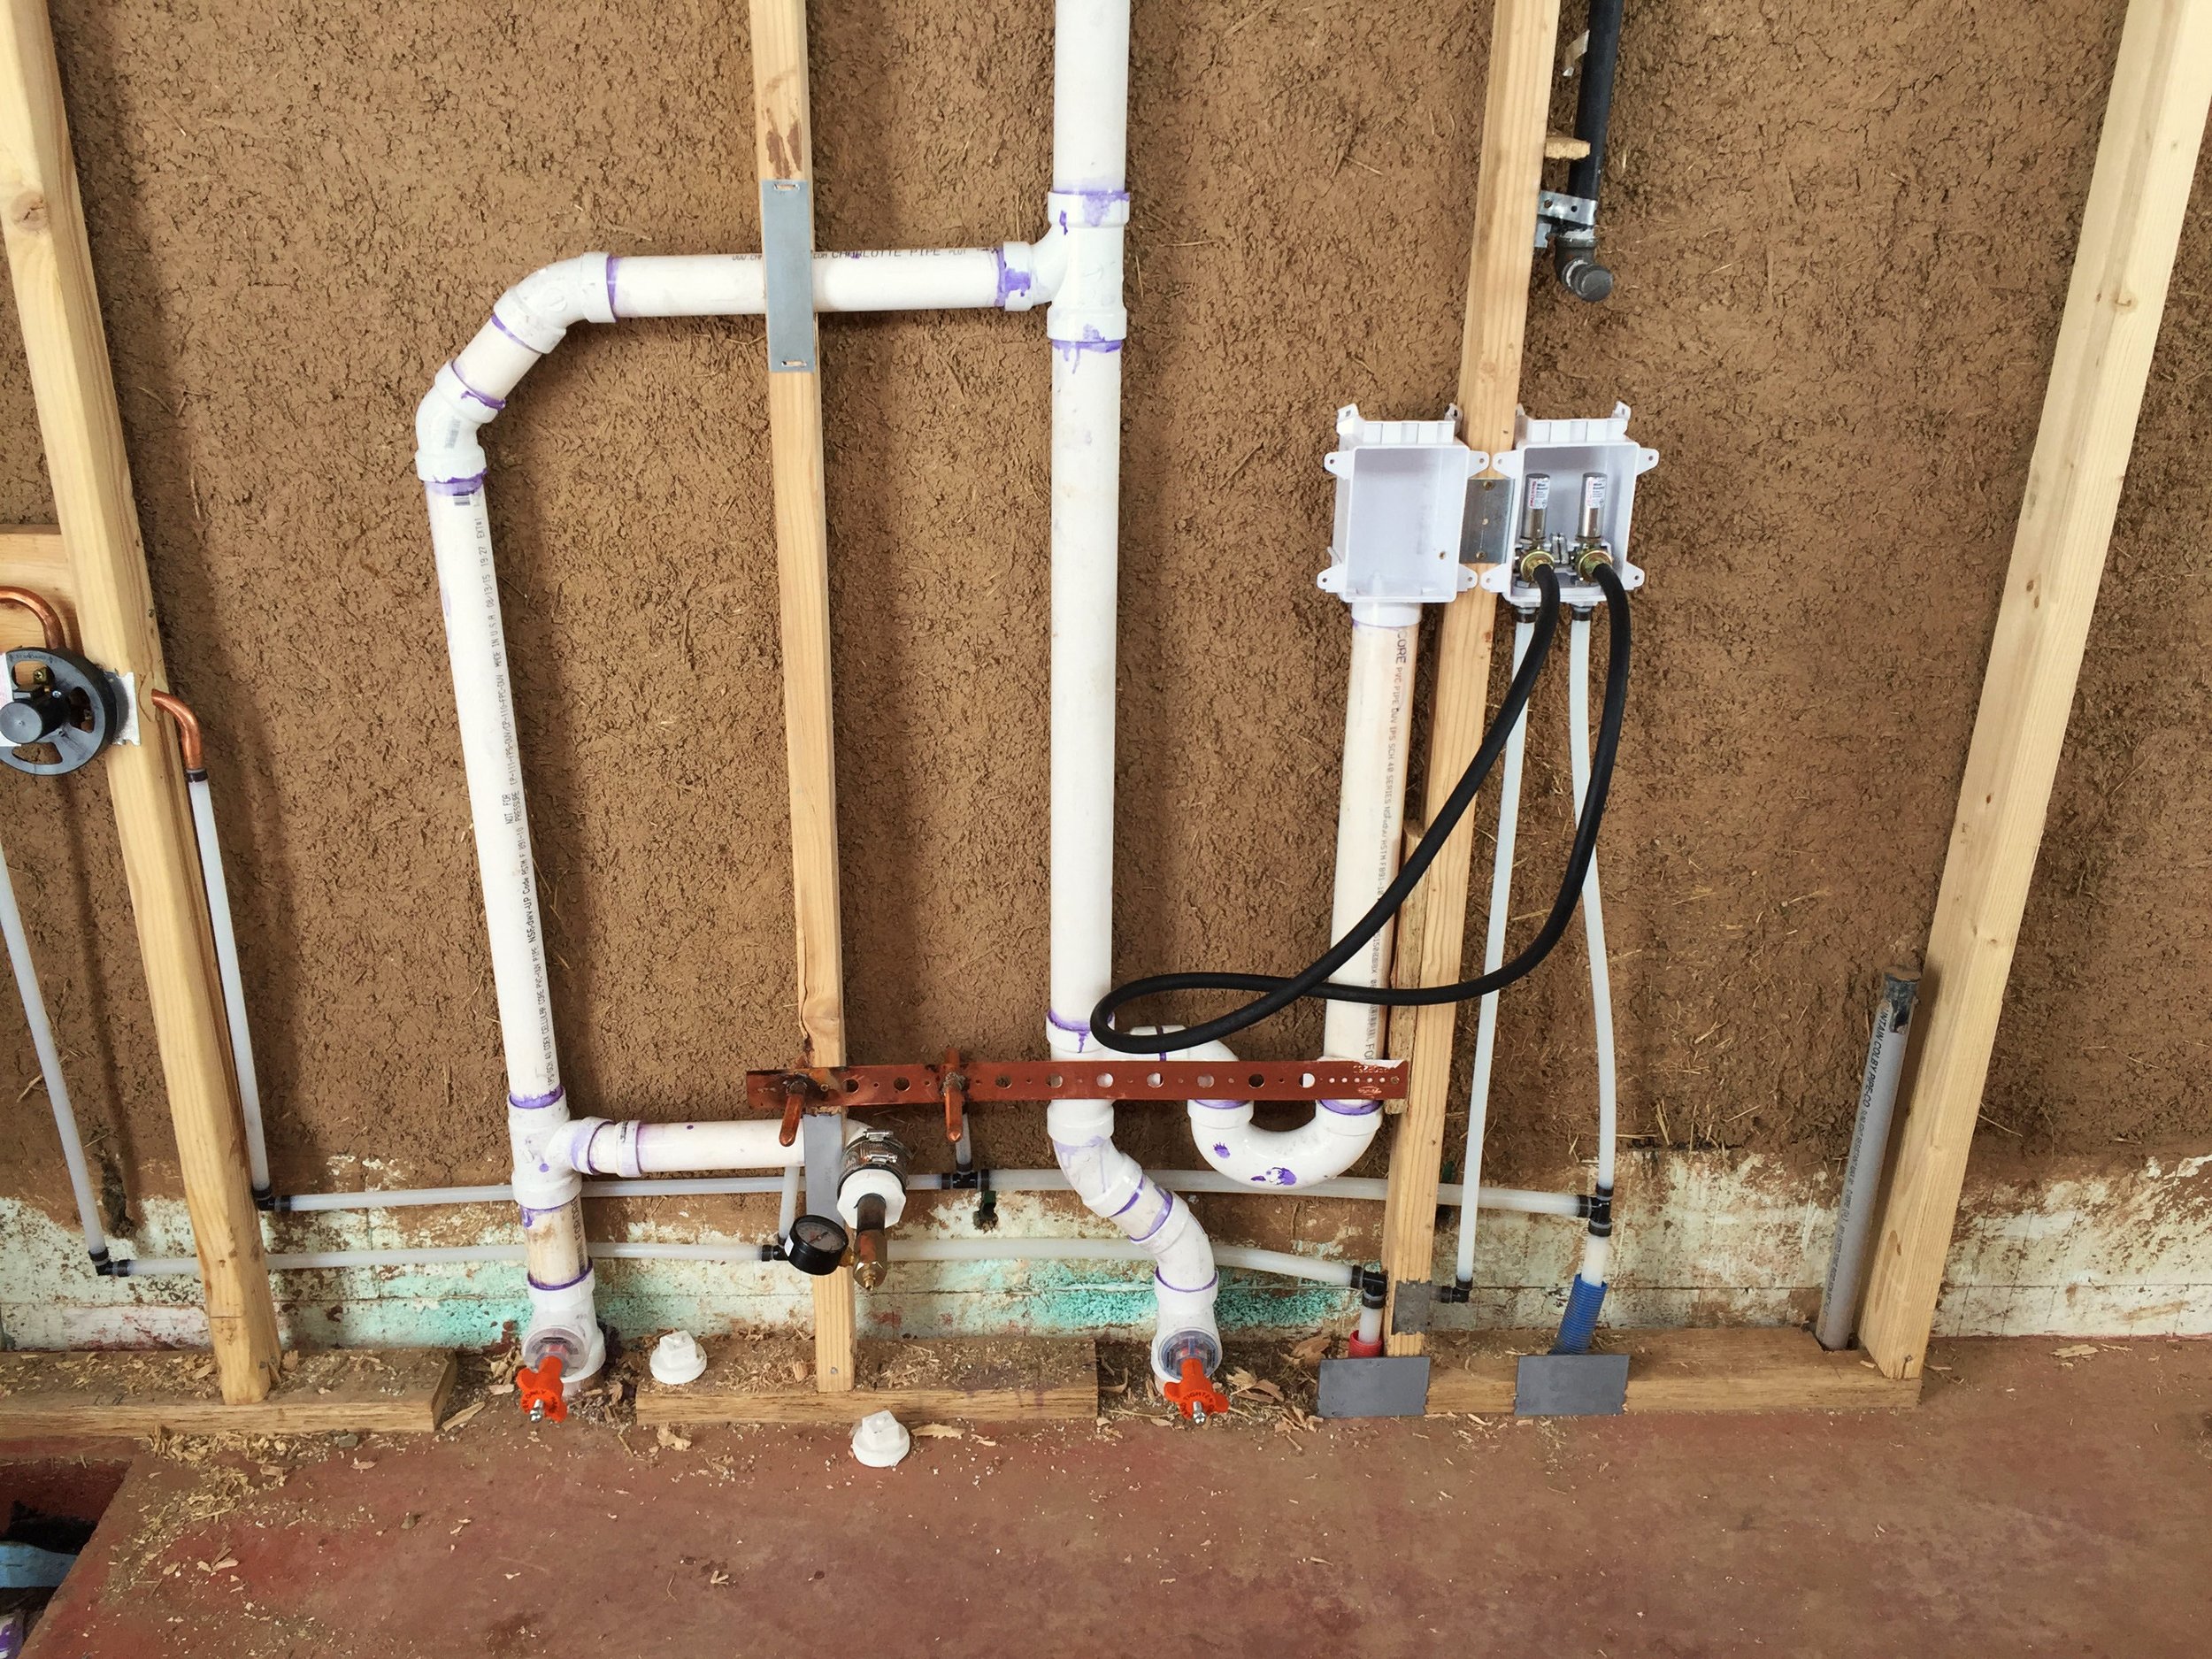
The location of the laundry plumbing also requires a wet wall. Similarly to the kitchen detail explained above, consider framing a wall in front of the bale wall to run your water lines, drains, and vents. You can also use it for the electrical and gas lines. Note the plaster on the straw bale wall behind the framing. We recommend that there be a scratch coat of plaster at a minimum.
Water Isolation Boxes
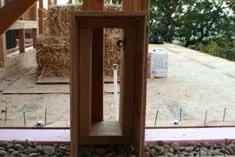
Another location where water isolation walls, or in this case, a water isolation box, is essential is around hose bibs located in bale walls. The only option for separating the water lines from the bales is to place the pipe in a water isolation box, as shown here.
The box should be as tall as the surrounding bales and, once completed, flush with both the interior and exterior planes of the wall. Give yourself enough room to work inside the box without making it bigger than you need. Wrap the box interior with waterproof material (roofing felt or Visqueen works well), then cut your bales to fit around it during the baling process.

Finally, follow standard practices for wet locations in the design. Keep kitchens, bathrooms, laundry rooms, and other wet areas close to each other to minimize costs and material use. When building with a concrete slab, locations on the first floor need to be accurate and well-planned, as they will be set in stone once the concrete has been poured.
Tomorrow, we will touch on electrical considerations in a straw bale house.
Happy Baling!
Timbo & Team StrawBale.com