Plastering Straw Bale Homes
For some people, this is the most exciting part of the job. We LOVE the plastering process, and to us, it helps the structure become its unique self. There is a construction job site before the plaster is applied, whereas there is a home after the plaster is in place. We know that not that much has changed, but the energy certainly shifts into something new for us.
Many people think they want to do the plastering themselves, and many follow through with that thought. And many homeowners hand the job off to a professional. Quite honestly, we think that’s a good idea for many folks.
The reason is that plaster is what people see when they first view your house. It is the one detail from which they draw their entire conclusion about the quality of your home. Plastering is not easy, and plastering well is even less so. If you are wondering if you are the right one for the job, try it out at a workshop first so that you can make your decision with some hands-on experience under your belt.
We plaster at every 7-day workshop and sometimes even offer specialty workshops that provide additional experience on unique projects.


We already spoke about the pre-plaster details to some extent earlier in the e-course, so you know the importance of a solid and tight substrate as well as the need for supported plaster across open spans of wood, etc. We even mentioned that our preferred plaster is Natural Hydraulic Lime (NHL) and that we believe it is the best plaster for just about any straw bale home.
Let’s take a quick look at some other plaster types options so you can understand what’s available. Remember that no matter your choice, it is best to apply the plaster in at least three coats: 1) the scratch coat, 2) the brown coat, and 3) the finish coat. Some plasters may require even more coats to achieve the finish you desire.
Using Clay Plaster (Earth Plaster) on Straw Bale
Clay plaster breathes well and can be inexpensive if the materials are available on-site. The application of clay plaster is more manageable than conventional plasters for an inexperienced person. The plaster can be repaired easily without “burn marks” by simply misting down the affected area and reapplying the plaster. The downside of clay plaster is that it does not last as long as other plasters.
Regular maintenance is a must as its durability is low. Direct water on the plaster can negatively affect the finish. It is not as strong as other plasters when considering shear and compressive strength, which lessens the strength of the overall wall assembly.
Finally, getting the correct ratios of materials: clay and sand mostly, can be difficult and is somewhat a mix of both art and science. This becomes important in the scratch coat for strength and in the finish coat for consistency of the finish appearance. We think that clay plasters are an excellent idea for interior applications, more so than exterior applications. We love the feel of clay plaster, and it greatly helps to moderate the interior moisture in the air due to its hygroscopic properties.
If you use clay plaster on the interior and a less permeable plaster on the exterior, be sure to increase the thickness of the interior plaster to help regulate the moisture that passes through it. This will help ensure that you do not mistakenly trap moisture in the bales.

Using Lime Plaster
Lime plaster is one step up in strength from clay and is my top choice of all possible plasters. It is not quite as strong as cement-based plasters for compressive and shear strength, yet it is considerably stronger than clay plaster. It can be very easy to work with, depending on the type of lime you choose. As already mentioned, we prefer Natural Hydraulic Lime (NHL) as it is simple to use and provides an excellent finish. Lime, especially NHL, is relatively flexible and can sometimes heal cracks on its own. Lime is durable and can be left alone once the plaster is complete. If you want to change the color or freshen it up, you can apply a lime wash to the finish coat at any time.
The biggest drawback to lime (NHL) is the price. It is pretty expensive and only available from a few distributors around the world. We believe it is worth the cost and consideration; however, it may be hard to fit in if you are on a tight budget.
If budget constraints restrict you from being able to work with NHL, you can still work with lime by using hydrated lime instead. The biggest issue with hydrated lime is that it needs to be slaked, mixed with water, and then left to sit for several months. We prefer a minimum of three months for proper slaking. Some locations, in Australia, for example, sell pre-slaked lime putty, and that is a great product choice if available to you. Lime can burn you during the slaking process, so be careful and understand the process thoroughly before you start.
Cement-Based Plaster

Although cement plaster is very strong and has great compressive and shear strength values, we do not recommend using it on your straw bale home. It is true that cement-based plasters and stuccos are perhaps the most commonly used material for stucco crews, and this means that the cost, therefore, is usually low when compared to lime or even clay if you hire the plaster out. It is also true that the materials are readily available in most markets, as are skilled crews to apply them. All of those advantages do not outweigh the negatives of using cement-based plasters on straw bale homes because they do not breathe well and are likely to trap moisture within the walls, causing rot in the bales.
Another downside is the environmental impact of cement manufacturing/production. It is a very environmentally impactful ingredient, and that must be taken into consideration when making a choice. Finally, the material is very hard and, as such, has limited flexibility. As a result, cracks are more common in cement-based plasters, and those cracks can allow water to make its way into the walls, again causing severe damage. In our opinion as a best practice, cement-based plasters, even when mixed with lime, should not be used on straw bale homes.
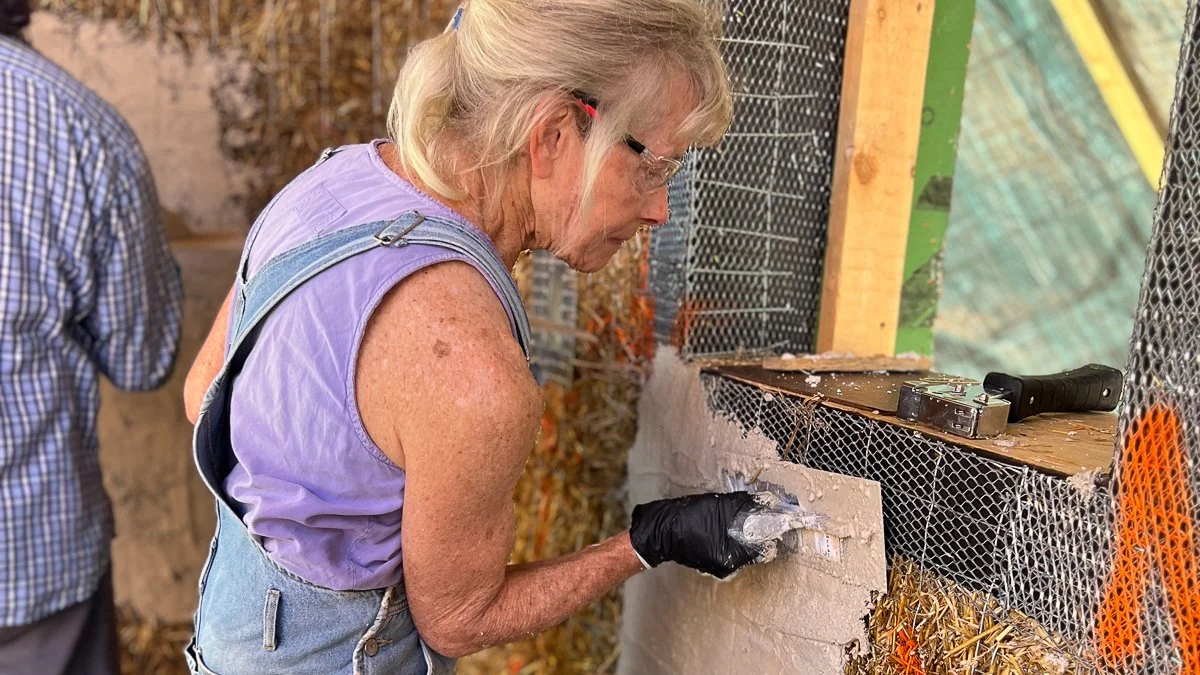
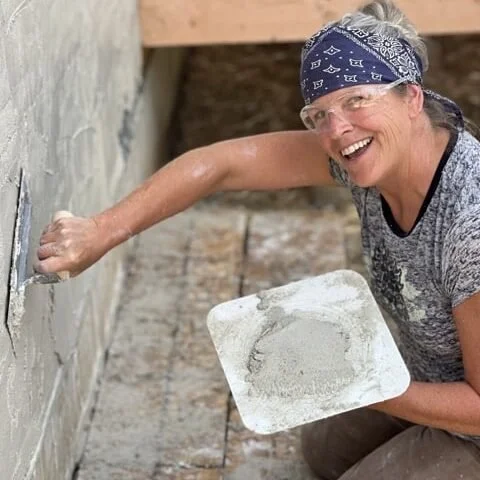
Spraying vs. Hand Application

The good news is that either application process is acceptable. If you have a small crew, then spraying is probably the way to go. If you have a workshop scenario or a large plastering crew, then hand application is just as good and requires much less cleanup. No matter which application method you choose, be sure to limit the amount of water you use in the mix.
The more water you include, the weaker the plaster will be. Plaster can be sprayed at the same consistency as hand application mixes as long as you use quality equipment.
Even when using a sprayer, you still need to hand trowel in what you have sprayed, so it does not entirely eliminate the need for hand troweling. If you are like us, you will find a certain meditation and rhythm to hand troweling that is lost in the noise of the machinery when spraying. Although there may be speed advantages to using a sprayer, we still prefer the quiet and peaceful application of hand plastering with a hawk and trowel. As we said above, either one is acceptable, so it’s just a personal decision you can make when you get to that point of the job.

Thanks for Learning About Straw Bale Building!
Congratulations! This concludes your 16-Day Straw Bale E-course.
We hope you have learned a lot and have been inspired to build your own straw bale house.
We love this technique and are always pleased to see more and more people learn about it.
No doubt there will be those friends and family who think you are crazy when you first mention the idea of straw bale construction to them; however, we have yet to find someone to stay skeptical once they have experienced a bale building hands-on…especially if the weather conditions outside are extreme in any way!
In support,
Timbo & Dainella

As an eCourse graduate, please accept 25% Off your purchase on any of our On-Demand Learning Courses, eBooks, and Tool Schematics (downloadable).
They are designed to help you take your next step in building with bales!
Use the coupon code “4UOnDemandCourses” during the checkout process for ANY On-Demand Course in our library.
Use the coupon code “4UKeepLearning” during the checkout process for ANY eBook and Tool Schematics.
Are you already in process, but hitting some snags, or feeling less than 100% confident on a detail? No worries it happens all the time; we offer various consulting support options to help you out and get your project moving again!
We hope to meet you one day soon and continue to inspire you to build your dream straw bale home!
Timbo & Team