Preparing Your Walls for Plaster
A quality plaster job begins before the plaster is even brought to the site. The substrate is vital because the plaster can only be as strong as the material it is attached to. As we know, straw makes a great base for plaster due to its natural “tooth” or ability to hold the plaster.
It is important to make sure that the wall surface is as straight and free of loose material as possible before plastering. It is equally important to make sure that all areas of stuffed straw are tightly compacted and firm, as mentioned earlier in the course.
These simple details will help ensure a quality base for your plaster to adhere to.
Using Welded Wire Mesh
We have mentioned using welded wire mesh in this e-course several times and will do so again here. The mesh does a fantastic job of reinforcing the plaster in a way similar to what rebar does in concrete. Because plaster is a relatively rigid material, it is strong in compressive strength, i.e., when forces push on it; however, it is not as strong in tensile strength: when forces pull on it.
The straw itself helps increase the tensile strength of the plaster, and making sure the plaster is pushed deep into the bales will increase this bond and strengthening. The use of mesh gives even more tensile strength to the plaster and makes for an incredibly strong finish for your walls. Make sure the mesh is pulled tight and stapled in place well. The mesh should be sewn from one side of the wall to the other about every two feet on center with roughly 6′ pieces of baling twine. Ensure the mesh is pulled tight to the bales and there is no movement to cause the plaster to pull away from the wall.

Addressing Wood Behind Plaster

Covering the wood with felt and mesh is acceptable as long as the width of the wood does not exceed four inches. Anything over 4″ wide must be covered with a strip of plaster lath, in addition to the felt and mesh, to give the plaster something to hang on to. Do not extend the lath over the edge of the post into the straw, as it will end up loose and may cause the plaster to remain unsupported during installation.
Plaster should never be asked to span a distance of more than a few inches without added structural support. The mesh gives some support and is adequate when the span is 4″ or less but does not provide enough to reinforce the plaster in larger spans. This is especially important on horizontal areas like the top of window and door wells, as without this added support, the plaster will not hang in place.
Unlike straw, wood does not make a good backing for plaster and must be isolated from the mud. We use a layer of roofing felt on top of any wood behind plaster. As you can see in the image to the right, the wood that is next to the plaster and ultimately exposed does not need any felt on it; however, the post that is buried in the plaster does need to be completely covered.
In addition, the transitions from bale to wood must also be detailed. Because these two materials expand and contract at different rates, many cracks will appear in the plaster if the transition is not correctly detailed with the plaster lath.
The lath helps support the plaster at the union and minimizes movement caused by the expansion and contraction of the wood.


Filling Gaps & Spaces
Be sure to fill any significant gaps in the wall you may have missed during the stacking, straightening, stuffing, and meshing stages. It is best to take care of all these places before the mesh is installed, as stuffing them after it is up is tedious. We like to use a tightly packed and twisted clump of straw to fill the gaps. It is also acceptable to use cob, light straw clay, burlap, spray foam, or other materials to fill the gaps.
Final Checks...

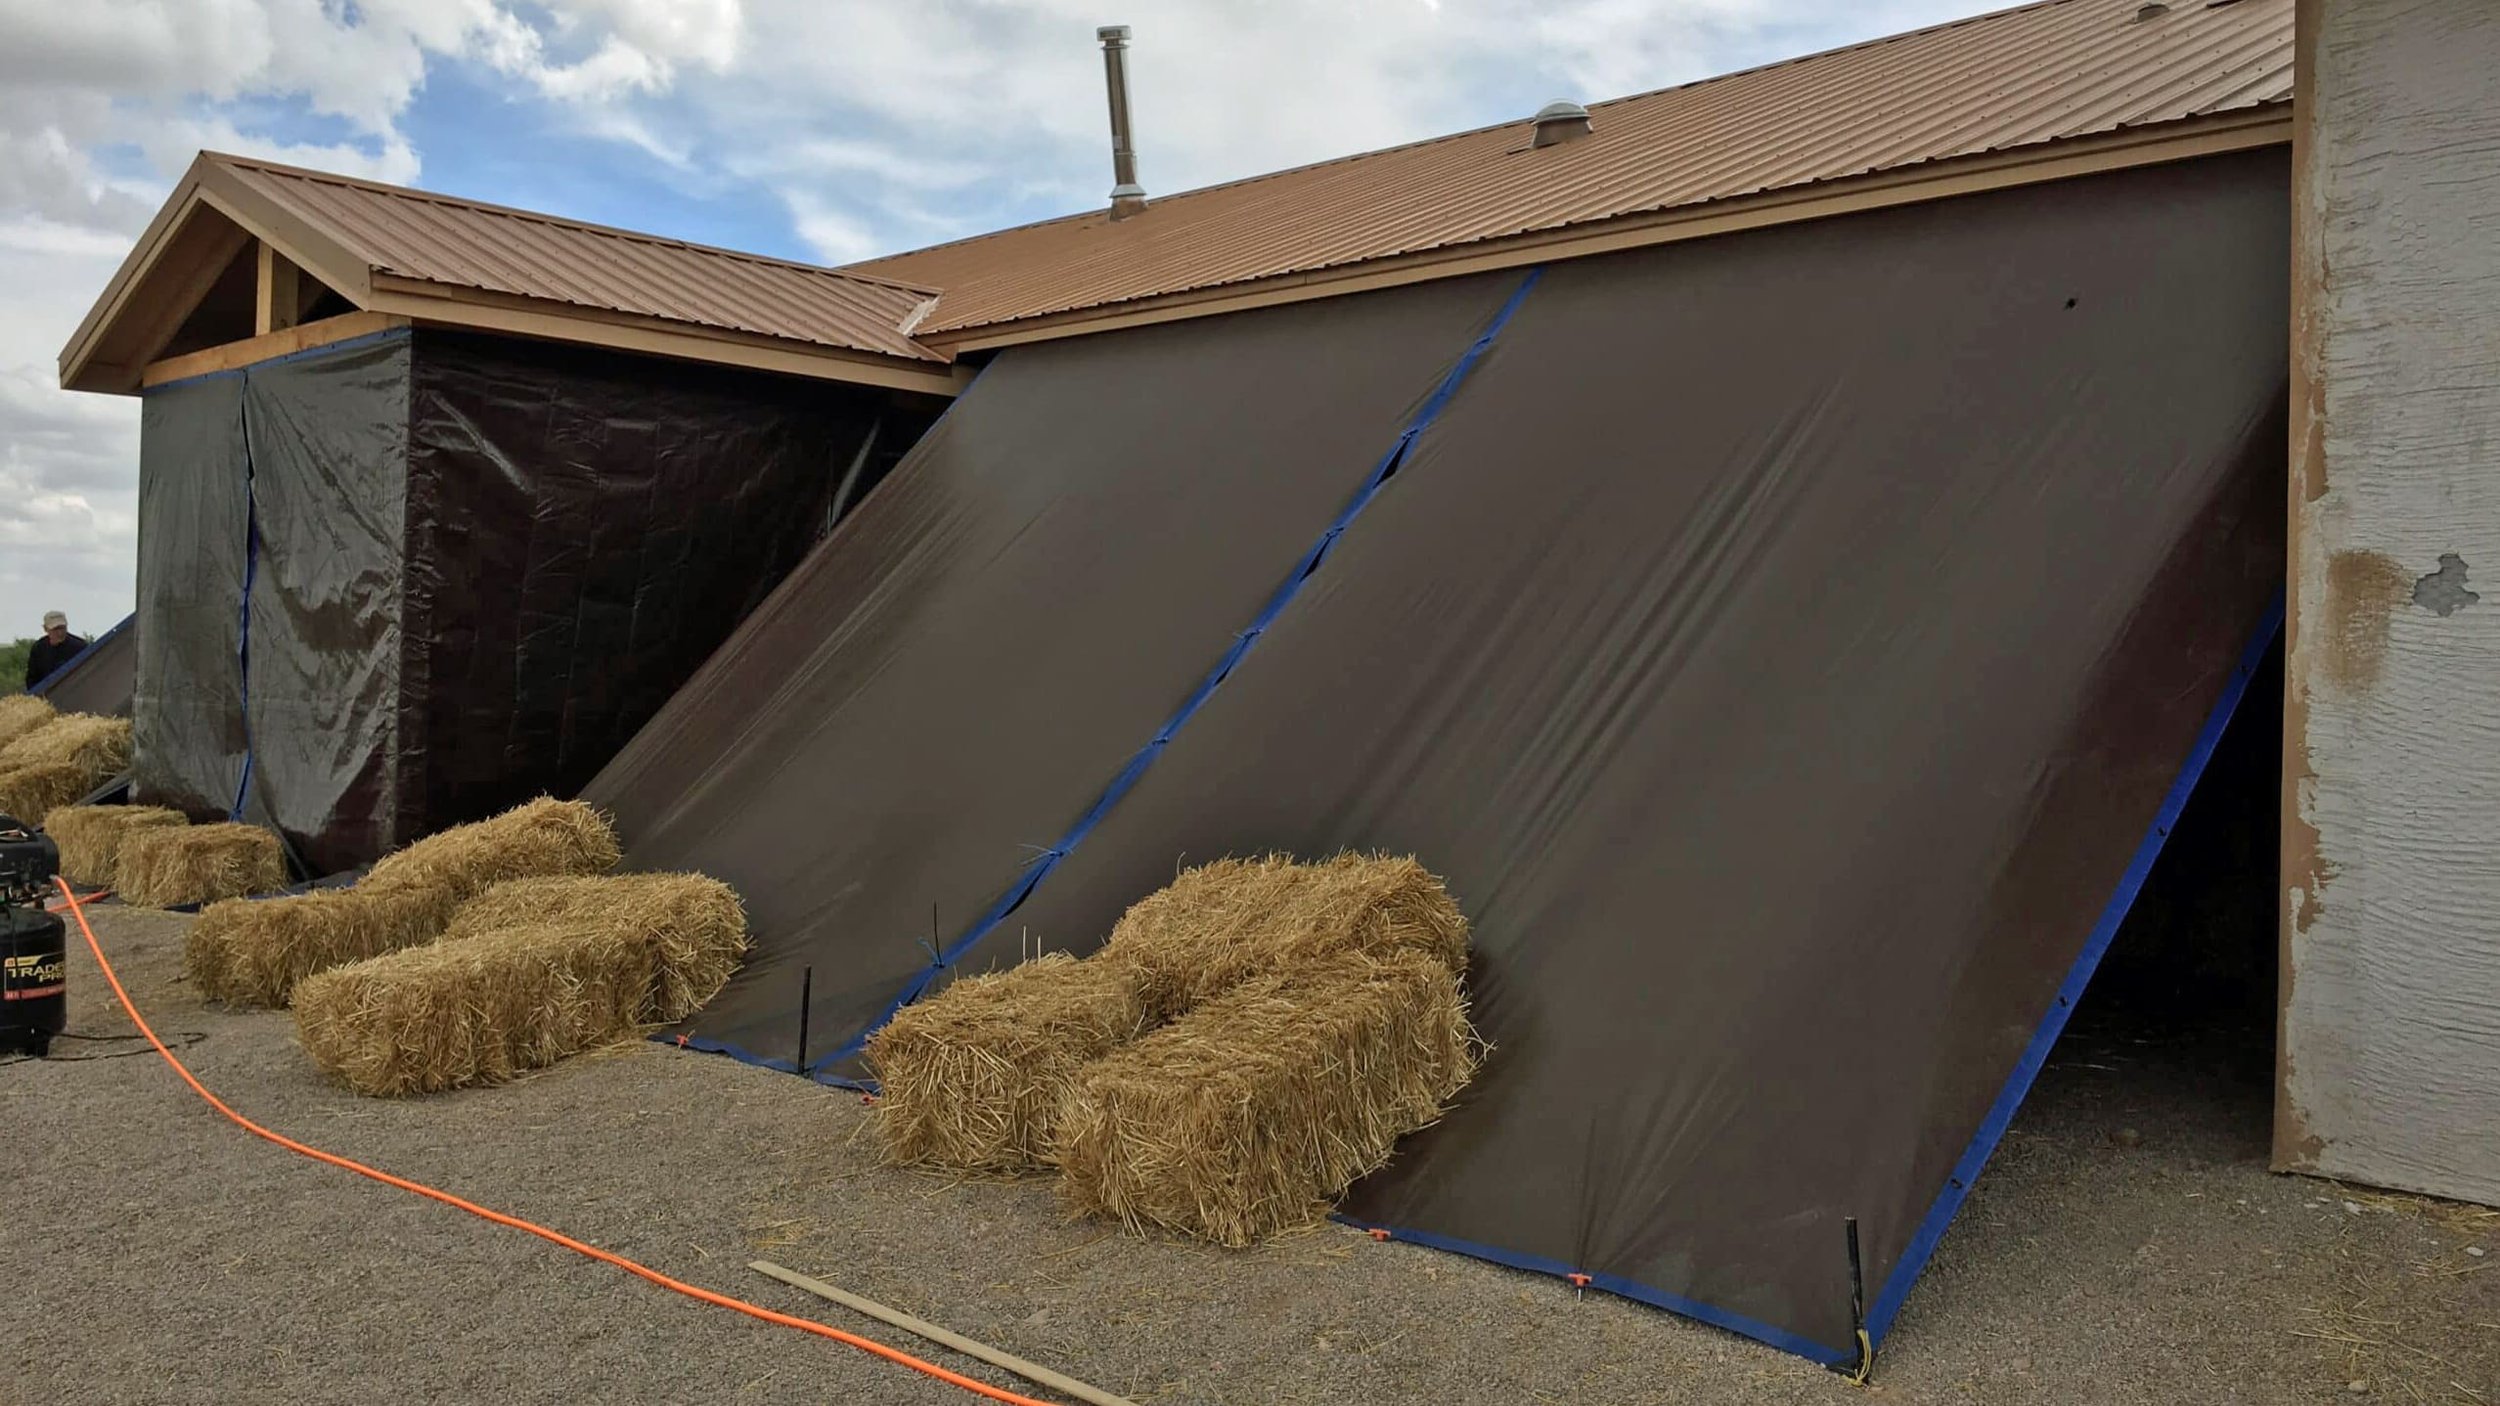
When ready to apply the plaster, the walls should be tight and solid. The wood should be covered and the mesh attached firmly to the wood structure and/or sewn through the bale walls. Any holes or gaps in the bales need to be filled firmly so that when you push the plaster against the patch, it does not deflate. Be sure the site is clean of straw and debris so you can walk safely around the structure. Cover the floors on the interior of the building so dropped plaster will not mar them. Hang tarps on the exterior to protect the plaster from wind, rain, and sun during installation and curing.


Plaster Types & Preferences
here are many choices for plastering, from earthen plaster to lime to cement-based materials. We could write an entire book about plaster choices, and indeed, people have done just that.
The simplest plaster to use on a straw bale structure is lime plaster, specifically Natural Hydraulic Lime (NHL). It is durable, easy to apply, breathes well, is flexible, has self-healing properties for at least the first year, and is a natural material.
If you decide to plaster with NHL, be sure to contact us. We have suppliers who will give you a discount on your order if you mention us. You can use the Plaster Discount Request Form or email us at info@strawbale.com. The material is not cheap, so the discount is worth it. That said, NHL is the final decision for most, if not all, of the workshop hosts we collaborate with on their straw bale homes, and we strongly recommend it for yours.

Tomorrow, we will look at special considerations when hanging cabinetry on straw bale walls.
Bale Yeah!
Timbo & Team