Find Answers To Your
Straw Bale Construction Questions
FREE Searchable DatabaseExplore by Category
- Construction Details 39
- Natural Plastering 17
- Workshops 12
- Tips and Trade Secrets 10
- Strawbale FAQs 9
- Tools and Materials 8
- Design and Engineering 6
- Framing 6
- Contracting and Consulting 5
- Foundations 5
- Inspiration and Community 5
- Moisture Management 5
- Financing and Insurance 4
- Homesteading 4
- Repair and Maintenance 4
- Codes and Building Officials 3
- Costs 3
- Landscaping and Yard Art 3
- Load Bearing Construction 3
- Flooring 2
- Performance and Testing 2
- Product and Book Reviews 2
- DIY & Owner Builder 1
- Electrical 1
- Finish Work 1
- Fire 1
- How To Straw Bale Construction 1
- Timber Frame 1
- Utilities 1
- Videos 1
Looking for Straw bale homes for Sale? View Here.

Plastering Straw Bale Houses Without Mesh: Pros and Cons
When using earthen or lime plasters on bale walls for straw houses, it is not necessary to use any mesh. But, there are some considerations; learn more here.

Taos, NM Straw Bale Construction Hands-on Workshop
See videos from the 2025 Taos NM workshop and watch the build happen!

Straw Bale Houses and Vapor Barriers: What to Know
House wrap can protect straw-bale walls only if it allows for permeability. In this updated guide, we explain when a vapor-open WRB makes sense, where a rain screen provides added protection, and why lime or clay plaster remains the most effective first defense.
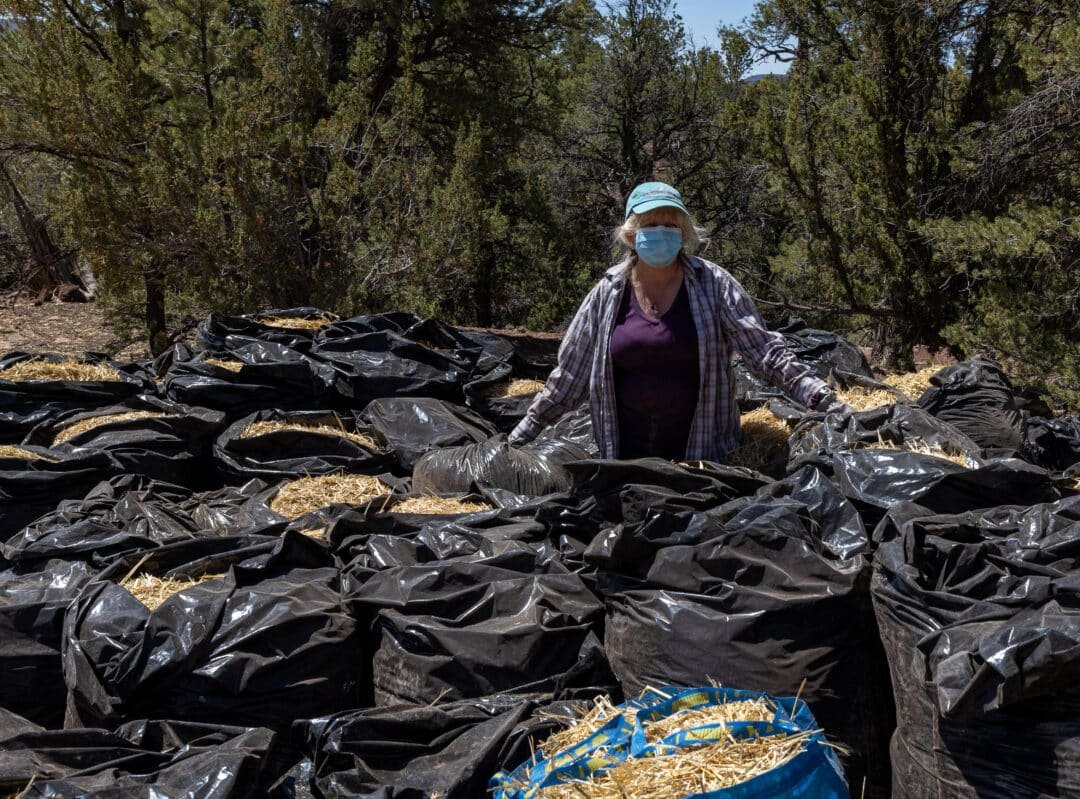
What To Do With Leftover Straw? - Straw Bale Gardening Ideas and More
Wondering what to do with old, wet bales and the loose straw created during your home’s construction? Here’s how to put it to good use.

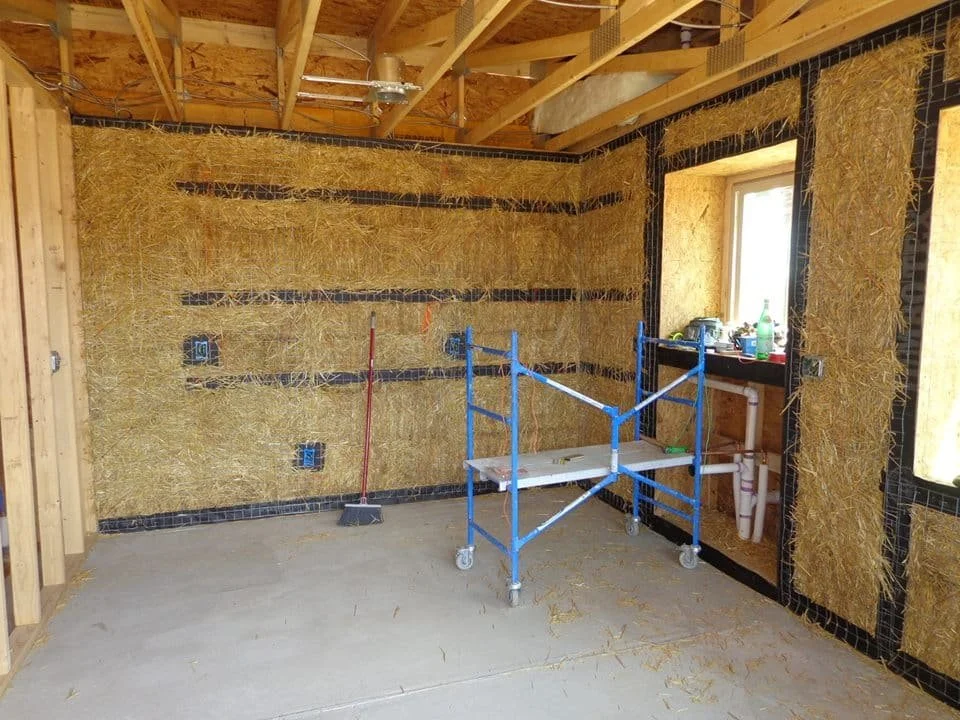
What Type of Mesh to Use in a Straw House Build?
When building, the question of what type of mesh to use in a straw bale build is a big one. Learn more about options here.
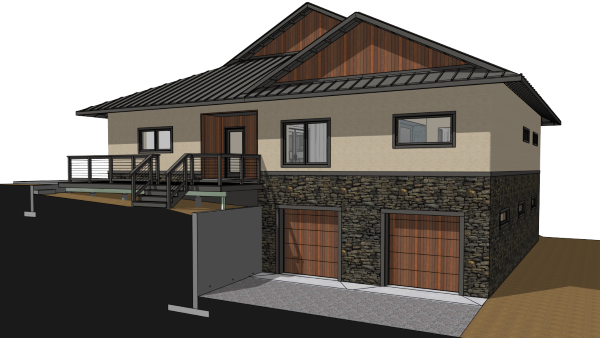
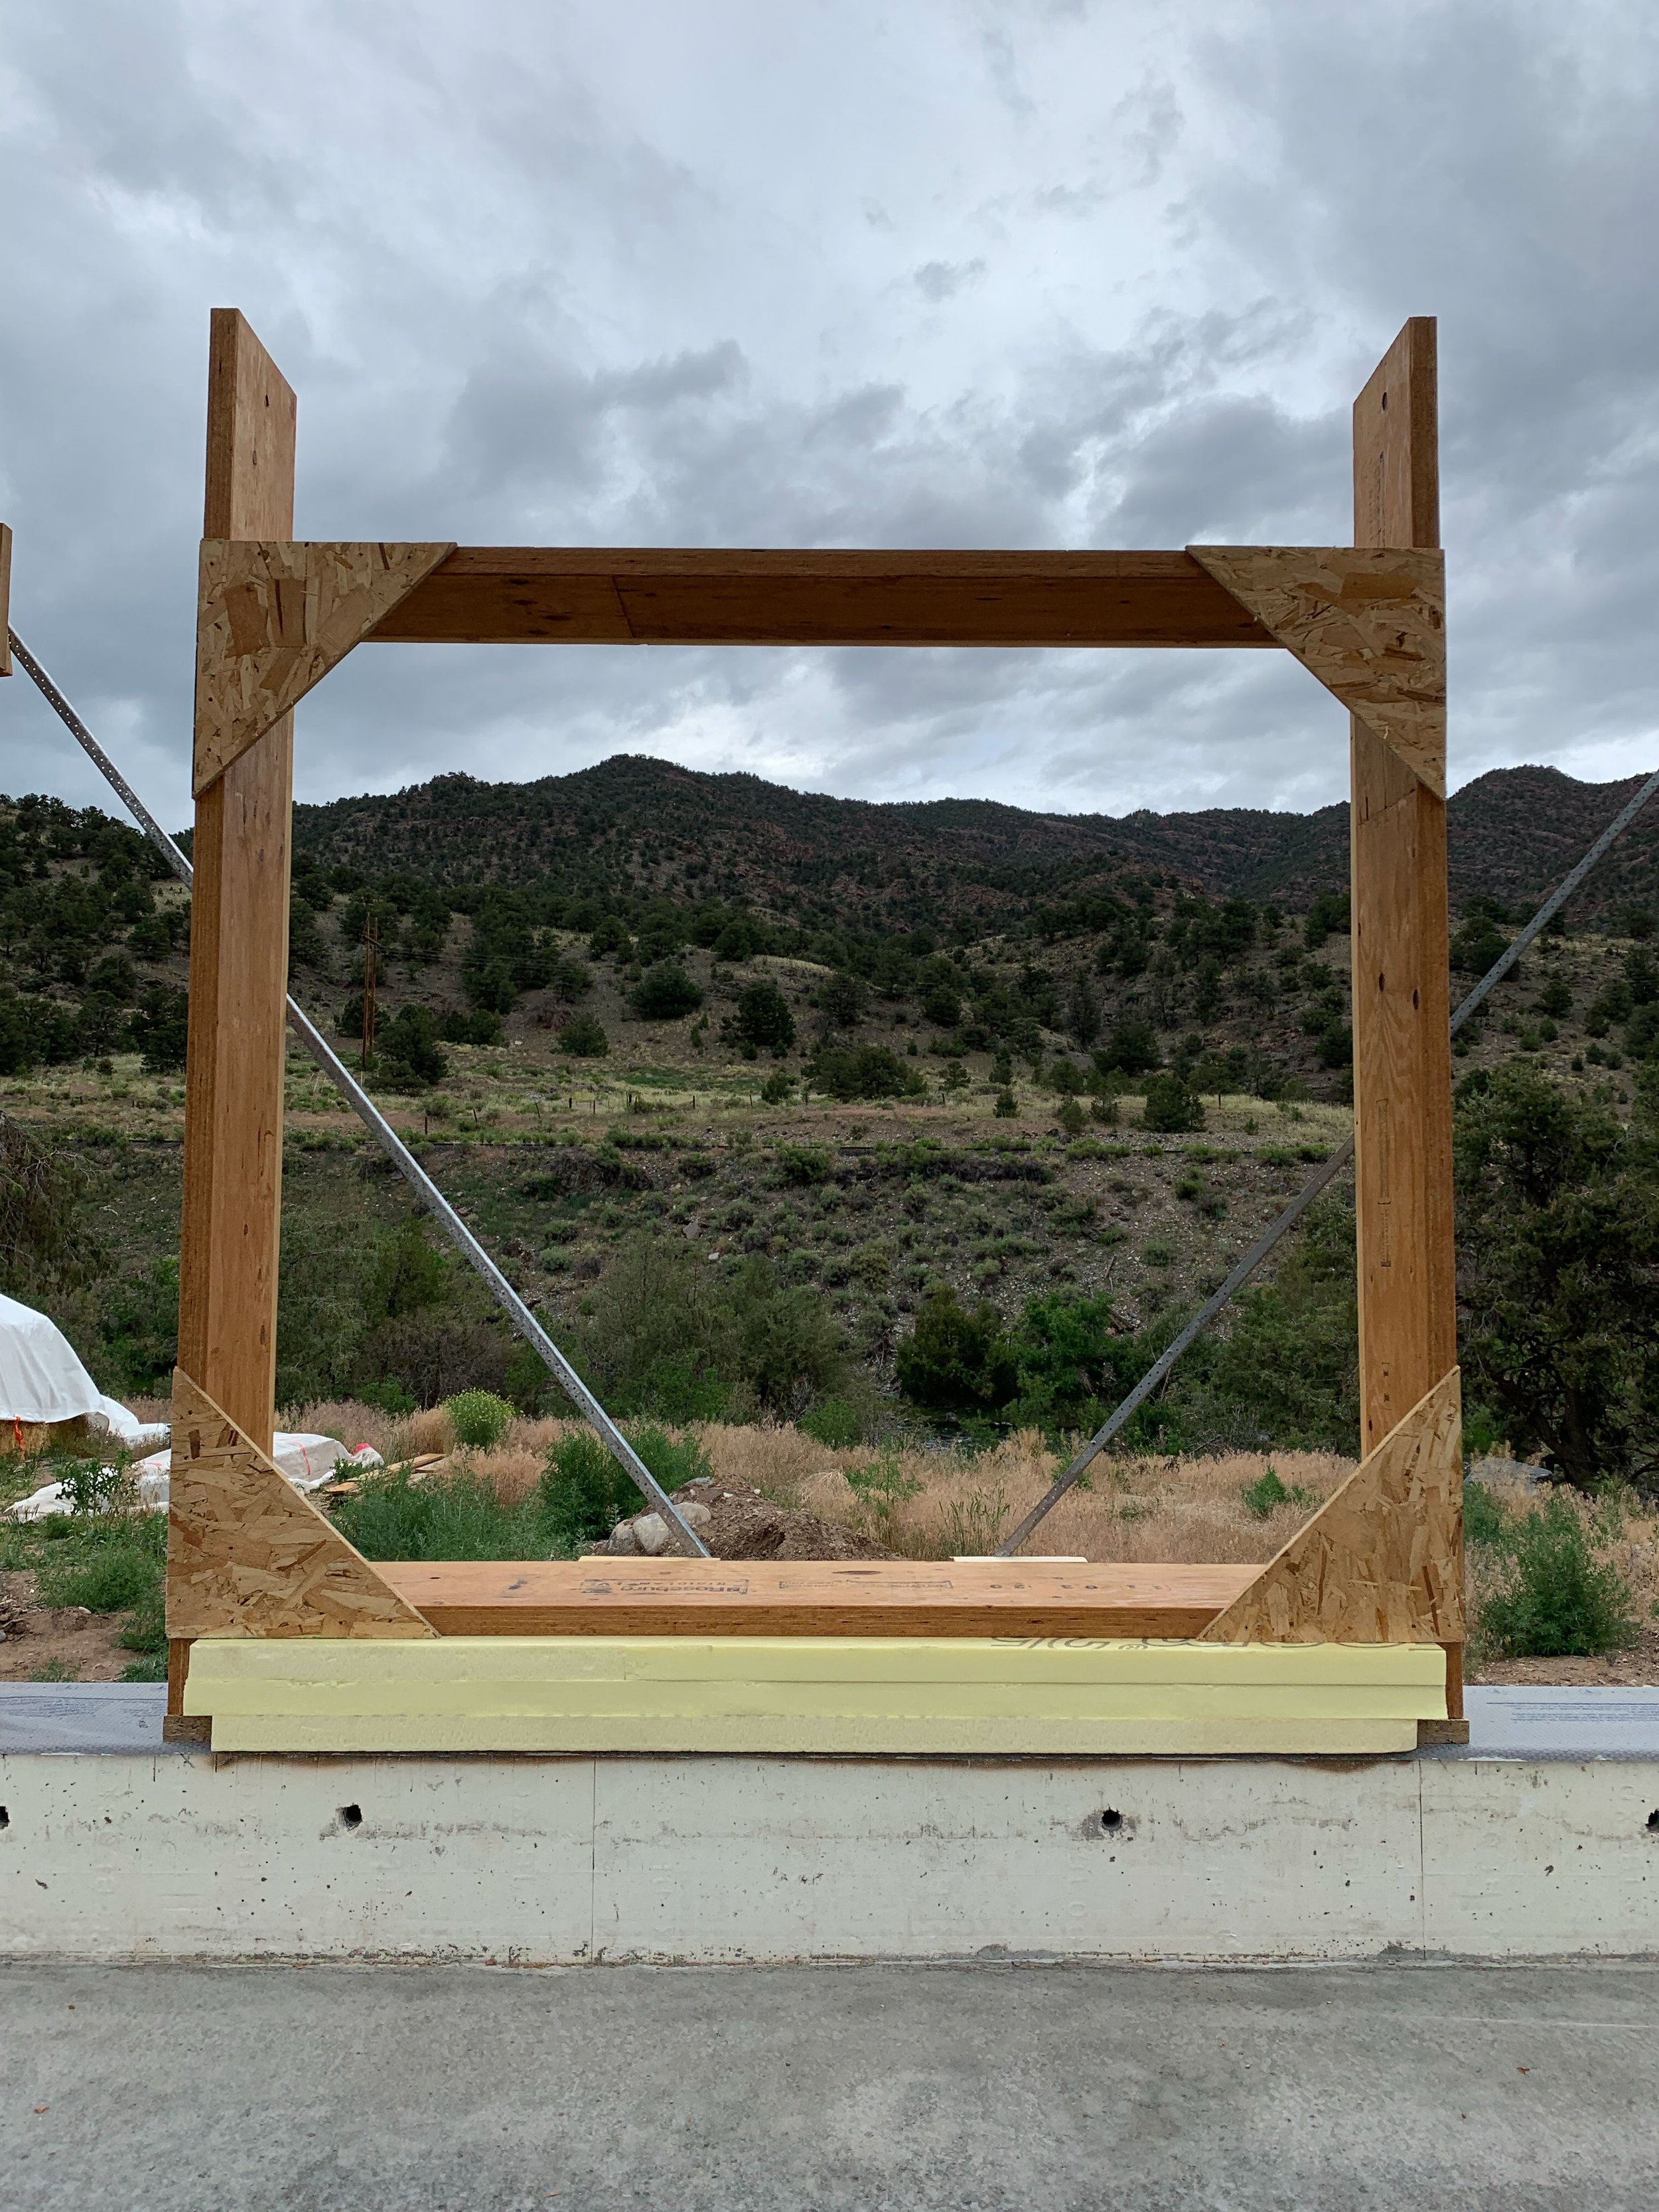
Building a Strawbale Home on a Steep Slope
Considerations and options for building a strawbale home on a steep slope using basement or pole foundation types.
Hanging Cabinets On Straw Bale Walls
One easy way to hang cabinets on straw bale walls is to notch into the straw bale wall… Learn all the details here.

Thinking of Building Your Own Strawbale House? Read This First.
Before jumping into one of the most rewarding (and demanding) projects of your life, let’s ask the most important question…
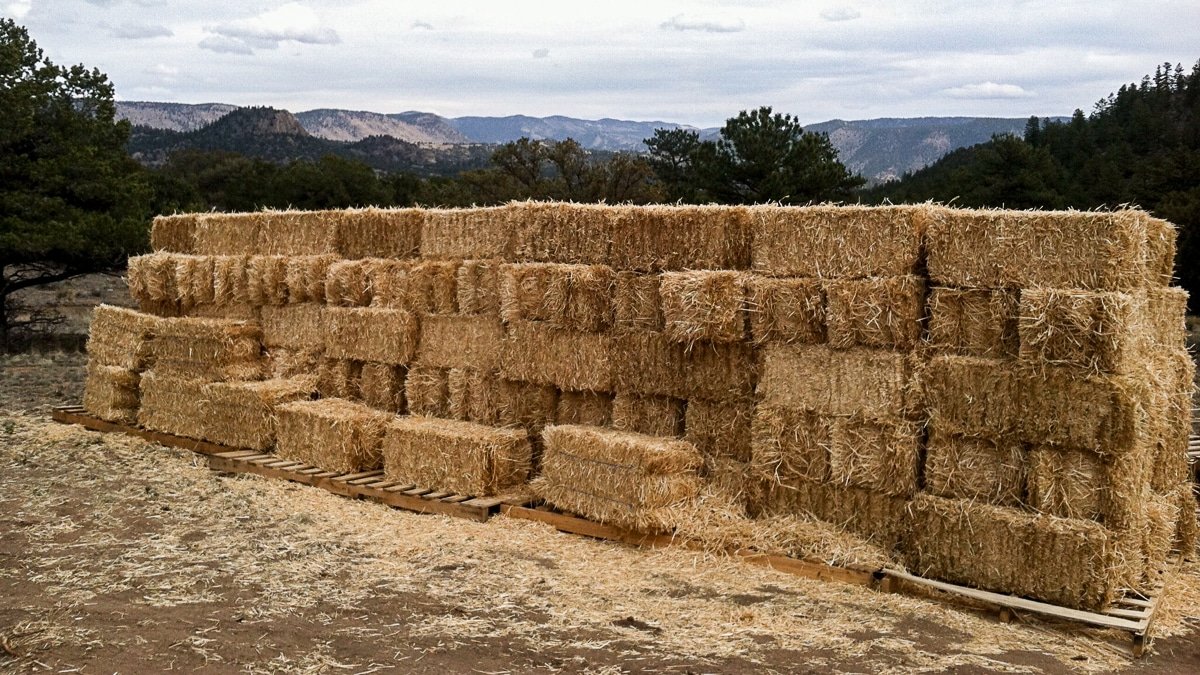
Hay Houses Are NOT Straw Bale Houses
Why exactly can you NOT use hay to build home with? Let’s find out…
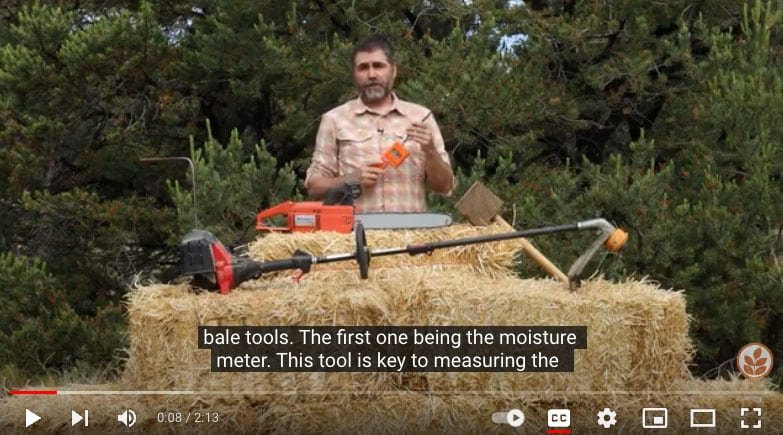
5 Essential Straw Bale Construction Tools
Some tools make a job WAY more efficient, effective, and enjoyable than others. Learn 5 essential straw bale construction tools crucial for success in building better with bales.

Better Than Rebar: Straw Bale House Building
Why have we moved away from using rebar in straw bale house building? Learn that and what we’re using instead in this short read.