Find Answers To Your Straw Bale Construction Questions
Essential articles, how to guides, and stories from builds across the countryDive into step by step how to articles, code and permitting tips, materials sourcing, design strategies, and workshop updates. Whether you are dreaming, planning, or building, you will find practical answers and inspiration from the field.

Explore by Category
- Construction Details 41
- Natural Plastering 20
- Workshops 14
- Tips and Trade Secrets 11
- Tools and Materials 10
- Inspiration and Community 9
- Strawbale FAQs 9
- Design and Engineering 6
- Foundations 6
- Framing 6
- Moisture Management 6
- Contracting and Consulting 5
- Financing and Insurance 4
- Homesteading 4
- Repair and Maintenance 4
- Codes and Building Officials 3
- Costs 3
- Landscaping and Yard Art 3
- Load Bearing Construction 3
- Flooring 2
- Performance and Testing 2
- Product and Book Reviews 2
- DIY & Owner Builder 1
- Electrical 1
- Finish Work 1
- Fire 1
- How To Straw Bale Construction 1
- Timber Frame 1
- Utilities 1
- Videos 1
Looking for Straw bale homes for Sale? View Here.
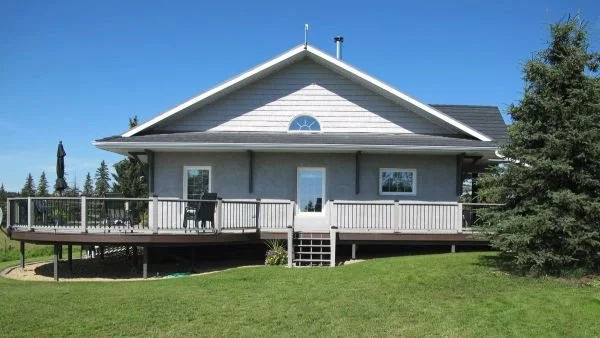
Community Spotlight: A Family’s Straw Bale Home Built from the Land
Discover how Jackie and Jim built a warm, quiet straw bale home from their own farm materials, a true labor of love and craftsmanship.

Building in Uncertain Times: Why Community Construction Still Works
As the world grows more uncertain, the choice to build your own home becomes an act of stability and connection. Drawing from years of straw bale workshops, I share why small, simple, and community-built homes remain the smartest path forward.
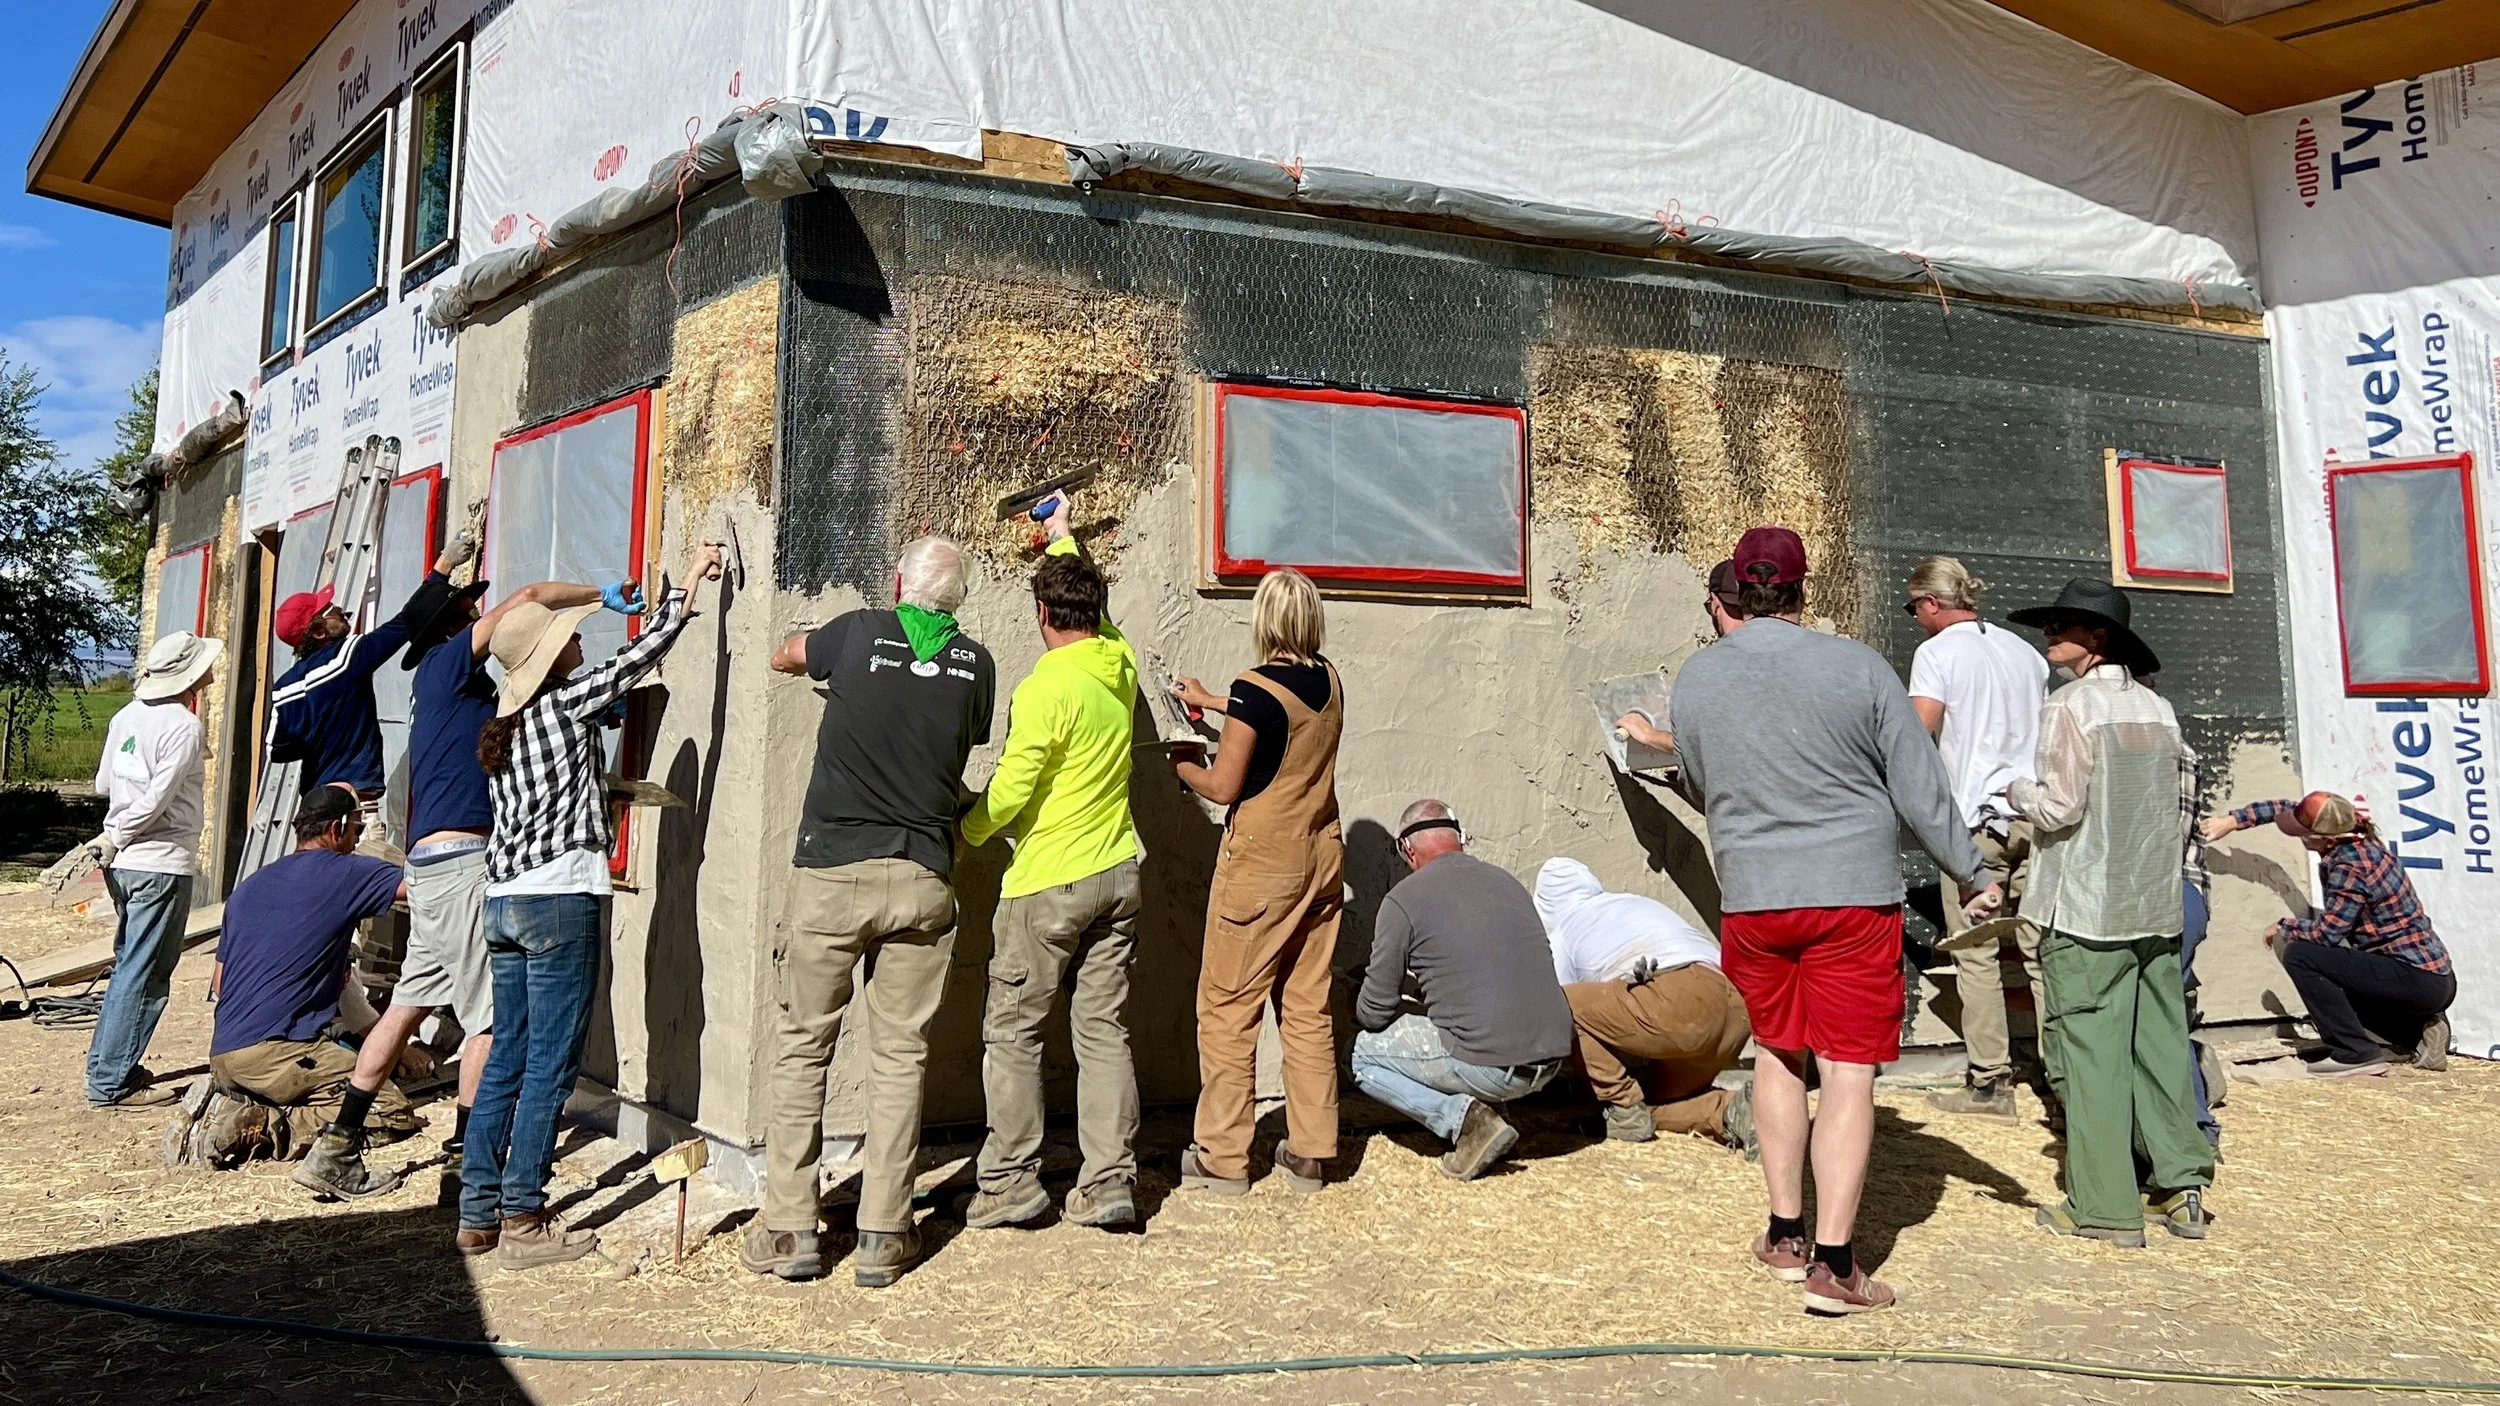
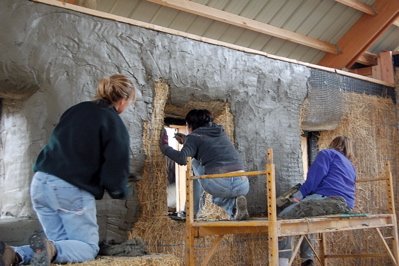
How NOT to Plaster a Straw Bale House - Avoiding Cold Joints
It is always best to limit the cold joints in your scratch coat as best you can. Here’s how you can avoid cold joints on your straw bale house walls and get the best result for your bale-protecting plaster job!
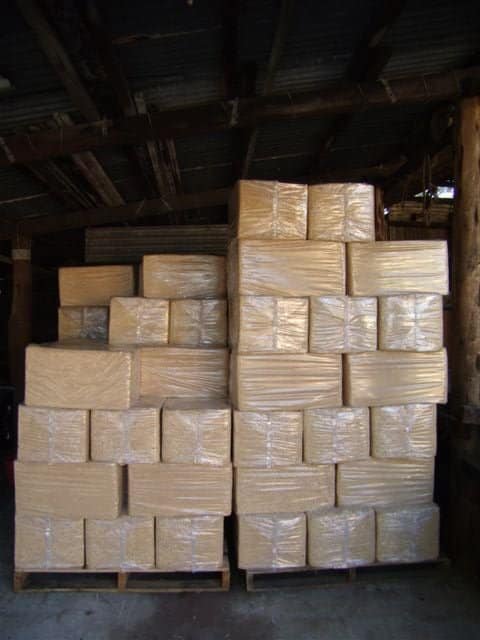
Why Plastic-Wrapped Bales Don’t Belong in a Strawbale Home
What about using plastic-wrapped bales in the construction of a strawbale home? Let’s have a deeper look at the pro/cons of this idea…
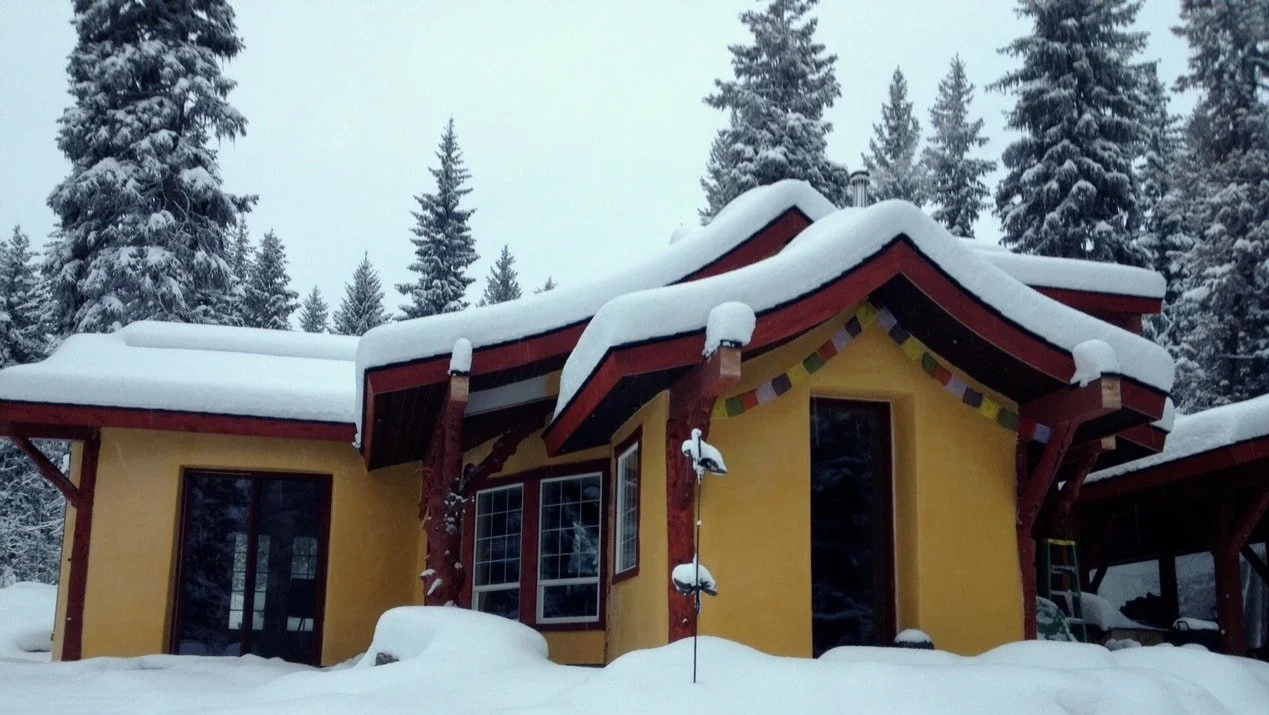
Plastering Straw Bale Houses in Cold Climates
Plastering straw bale houses in cold climates is a difficult process and site conditions have a big impact on the results. Learn more here.

What Still Makes Our Straw Bale Workshops Special
Our week long, hands on straw bale workshops still change lives. See how people, shared work, and simple joy make learning stick. Find a week that fits you.

Protecting Your Straw Bale Home from Weather
Water damage is the worst enemy of bale construction and is protected against it with the utmost attention. There are several ways to deal with water issues…
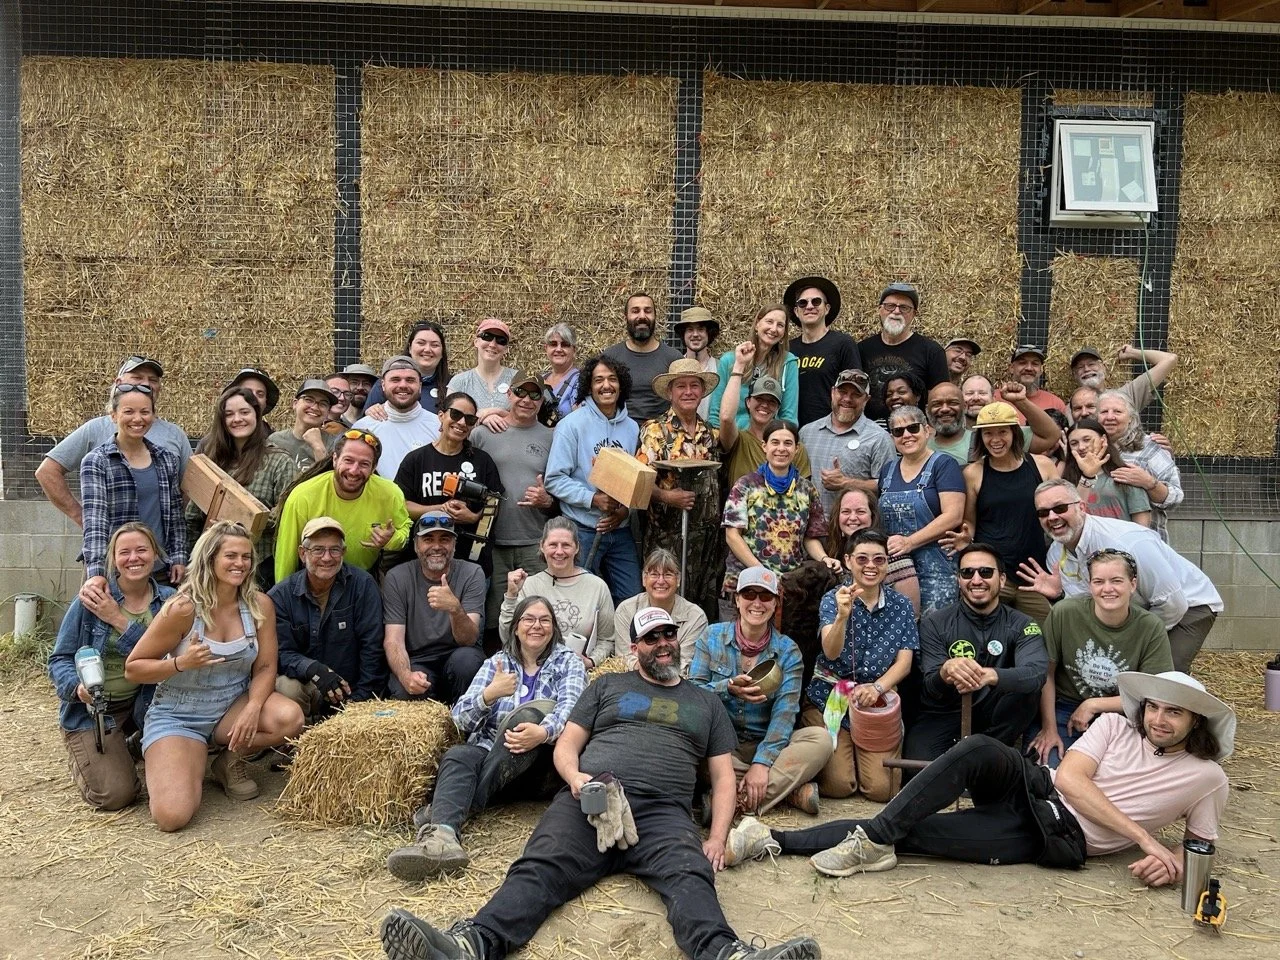
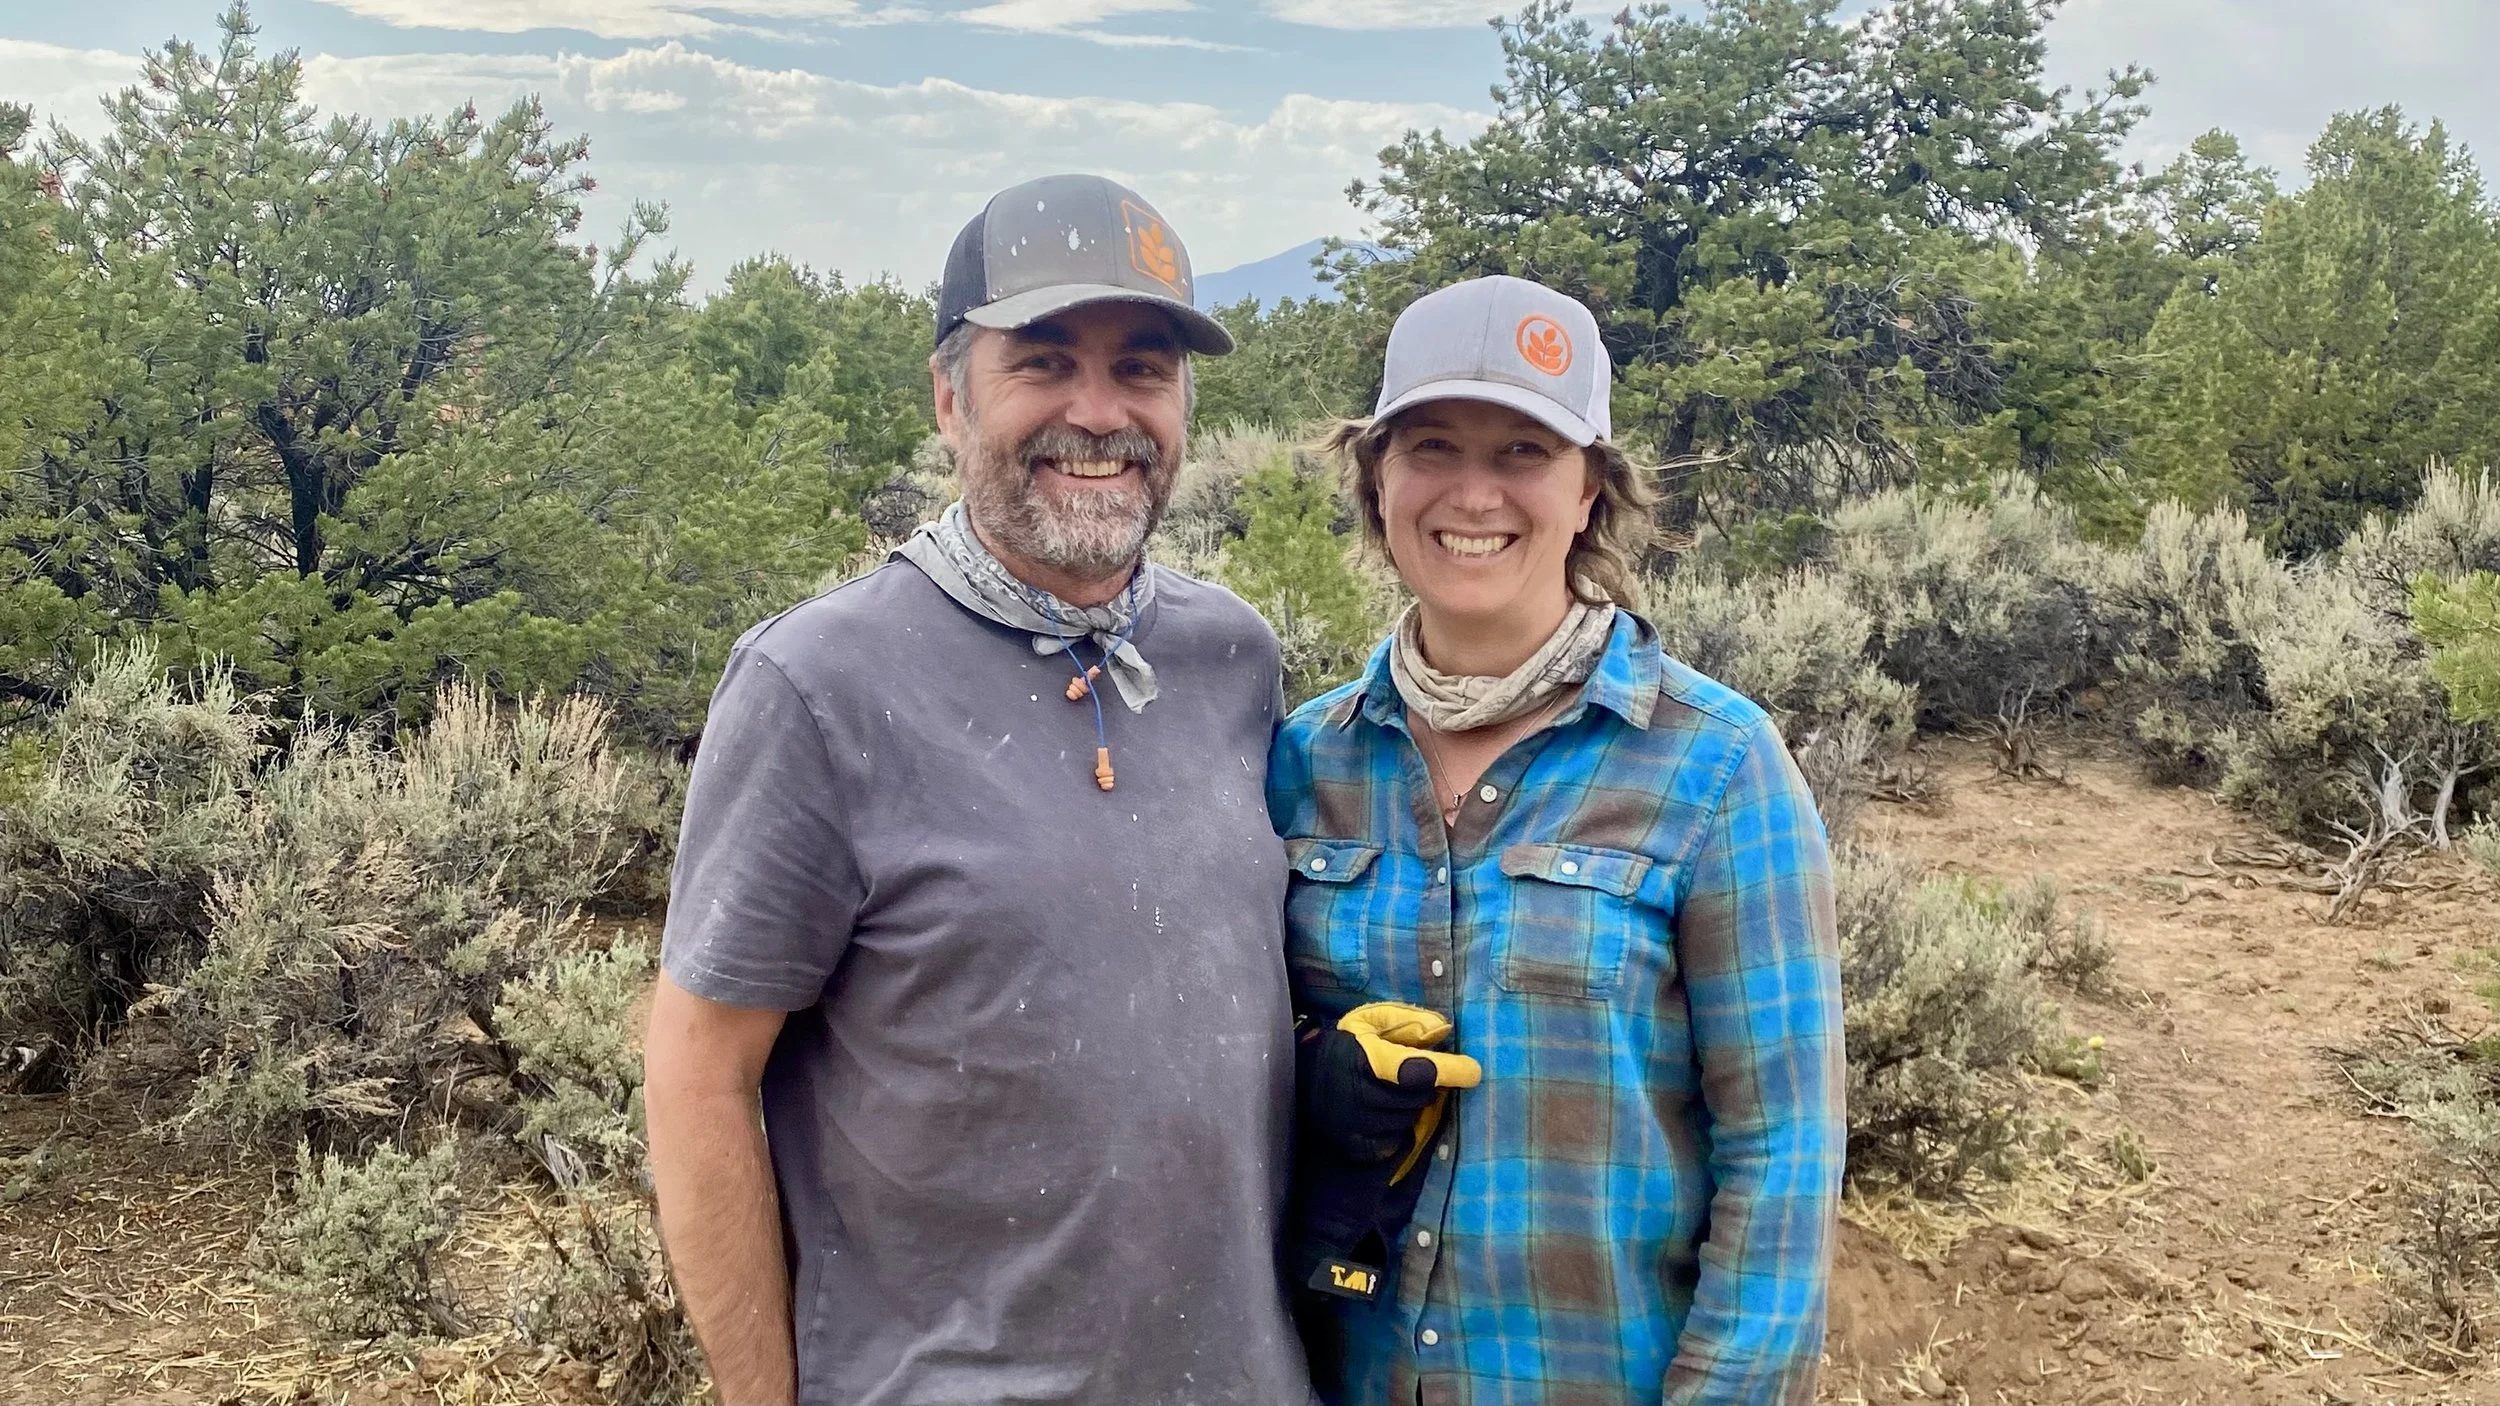
What I Learned About Community at the Bellingham Workshop
See inside the 2025 Bellingham, WA workshop and watch the magic unfold.
The Next Chapter in Our Story
Today, we’re excited to share a new chapter in the story of StrawBale.com—one that feels both like a natural next step and the culmination of years of passion, dedication, and straw in surprising places.
How to Plaster Overhead in a Straw House
Plastering bale window and door wells on a straw house can be challenging, but the end result is beautiful. Learn some important tips on how to do it in this article.

Foundations for Straw Bale houses - Tip to Save Your Concrete Stakes
Concrete stakes are essential to just about any foundation project. In fact, they are used on almost all concrete projects that a home owner is likely to encounter. Learn how to save your costly stakes…

Plastering Straw Bale Houses Without Mesh: Pros and Cons
When using earthen or lime plasters on bale walls for straw houses, it is not necessary to use any mesh. But, there are some considerations; learn more here.